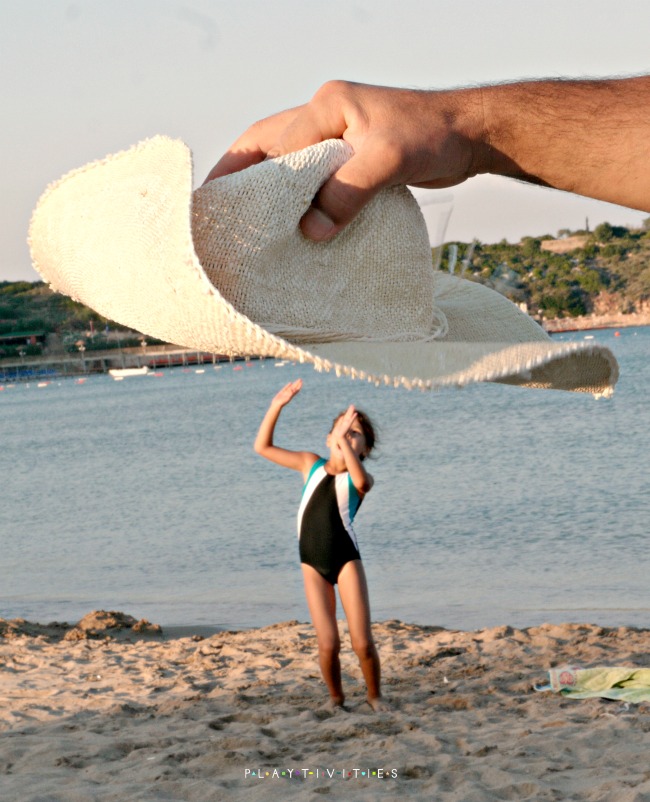
Forced perspective is a technique that employs optical illusion to make an object appear farther away, closer, larger or smaller than it actually is. It is used primarily in photography, film-making and architecture. (source)

I am not a photographer, filmmaker or an architect by any means, but I do have curious children and a patient husband. My daughter has seen some forced perspective pictures and she asked we do some. So we did. And it turned out pretty cool.
It was a great beach day activity for the kids, full of laughter and hard work at times.
Jump to:
Tips on taking pictures with forced perspective with the kids
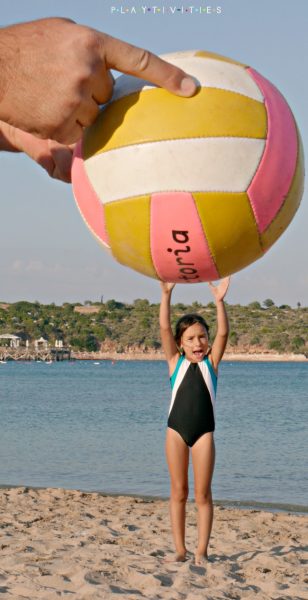
1. When creating this type of photo, the subject you want to appear smaller should be further from the camera than the subject you want to appear larger. Distance depends on the amount of size difference you want to achieve. To shrink a pet you might only need 6 or 8 feet. To shrink a mountain you might need a mile or more. Also, the larger the size difference between the actual size and desired appearance, the more space needed as well.
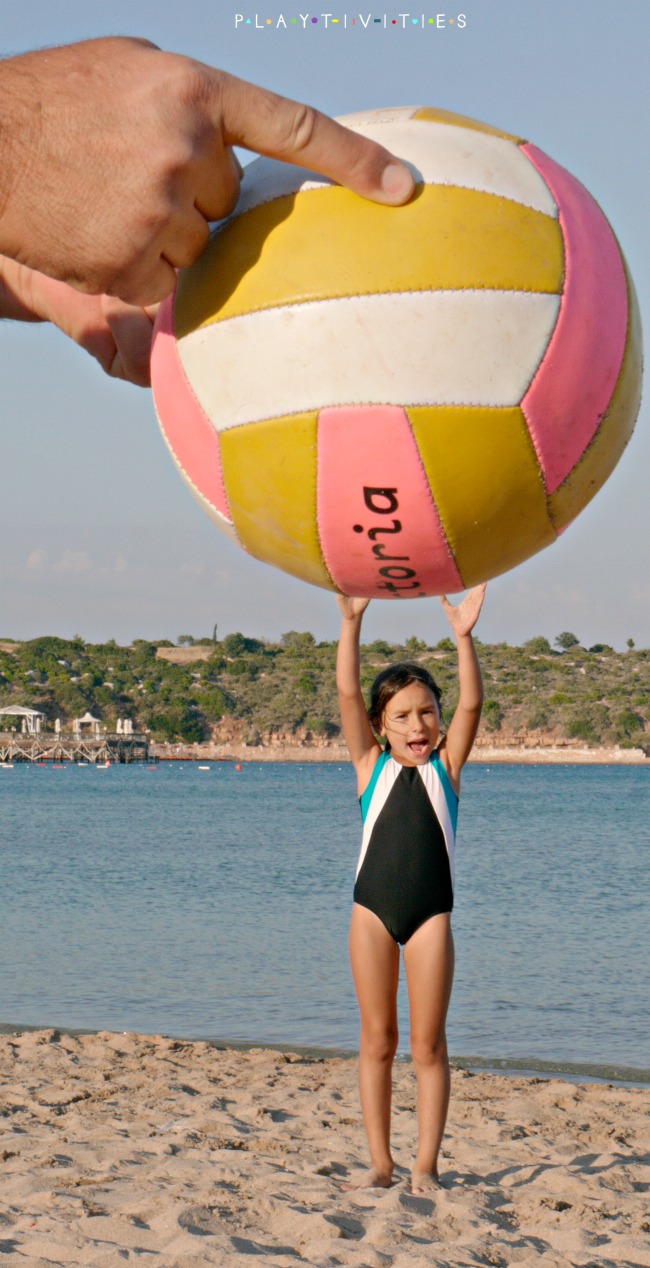
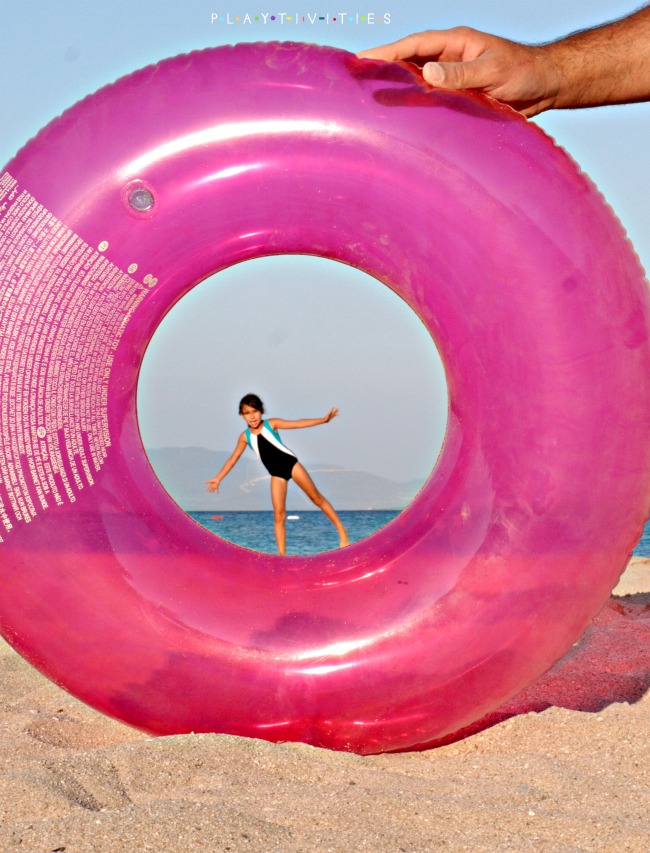
2. Find few objects to use in your forced perspective shots besides your child. We used a beach ball, a float, an empty water bottle, a hat, sand toys and even a boat that passing by far in the sea.
3. Pick a place where there aren't much in the background. In our case an (almost) empty beach worked perfectly for us.
4. Creating a perfect composition isn't easy especially with kids. So what I have found easier was just moving the camera to fit to perfect angle instead of asking my child over 15 times to move left, right and back.
This was our first time trying our forced perspective photography and I have to say we have learned a lot by just experimenting and trying different things ourselves.
5. Since these shots are best outdoors it's important to use proper sunscreen protection.
Our favorite shots of forced perspective
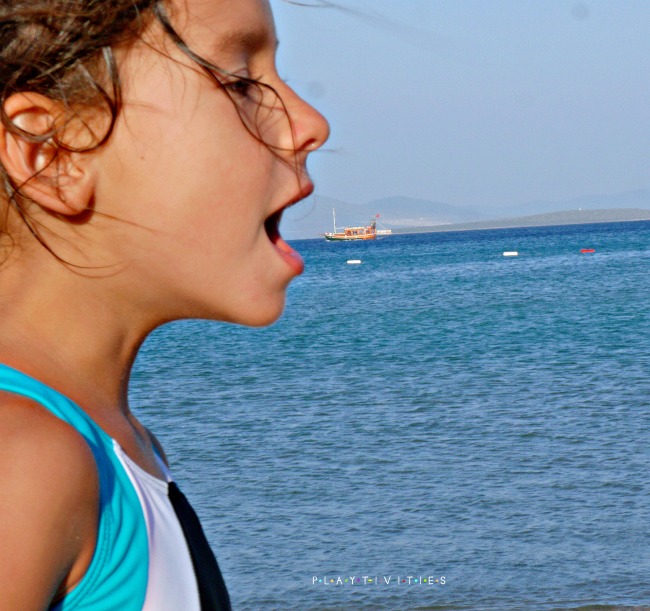
She almost ate the boat. Almost.
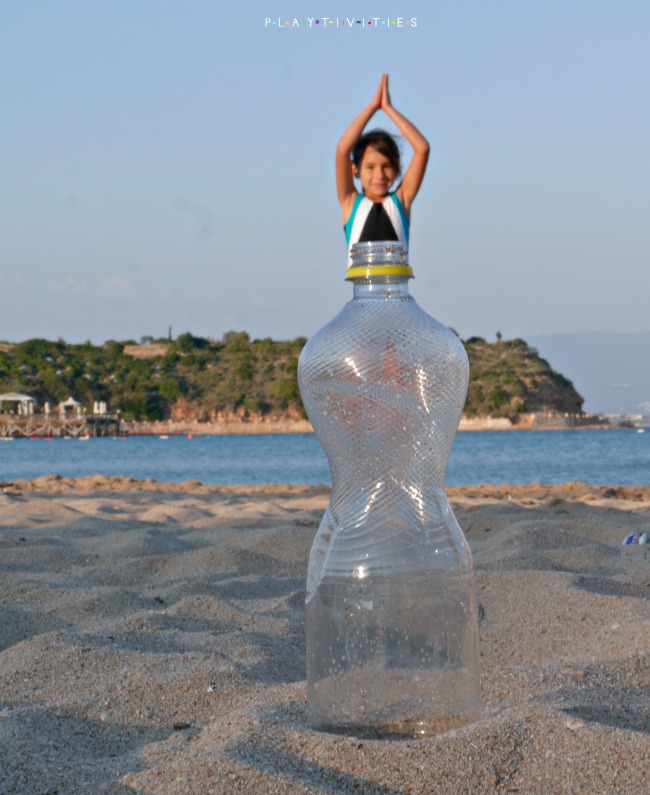
Here comes the genie...
Watered by the giant

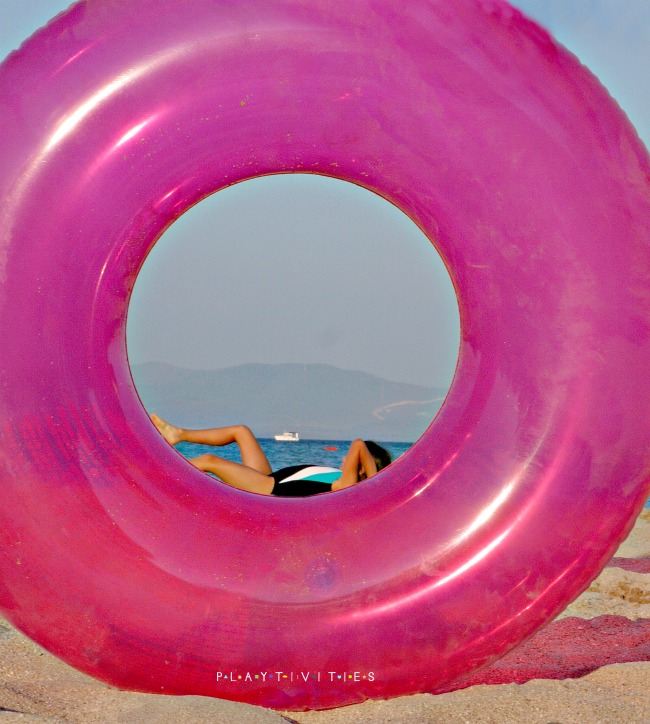
Taking a break
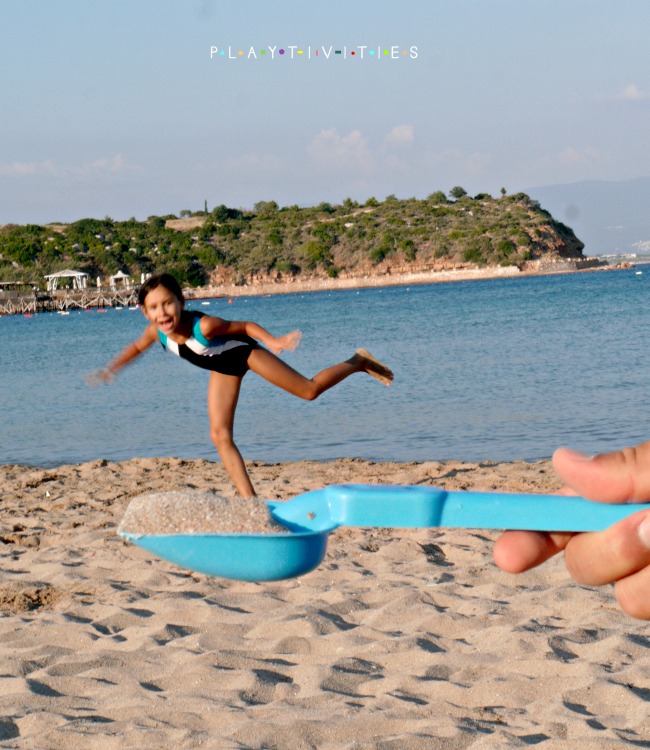
Scooped up
Got ya!