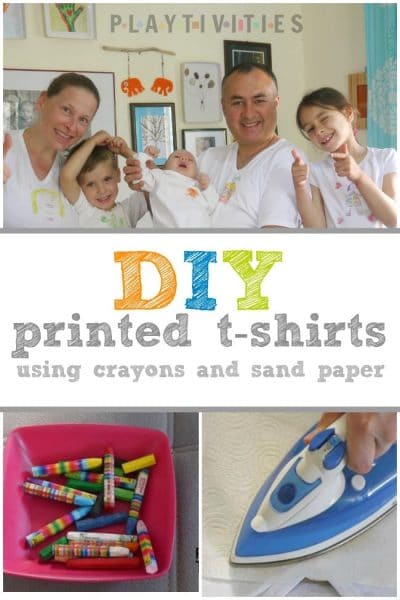

For our last family game night we decided to do a craft. A really fun and practical one.
Each of us had to draw a picture of what we thought of each other and then we used a technique to print the image onto the shirt and actually stick to it (even after you wash it).
There are many techniques for printed t-shirts. We are not experts at this what's so ever, but we feel like this printed t-shirt technique was pretty easy to do with kids fully involved in this craft.
Jump to:
DIY Printed T-shirt
You will need:
- sand paper
- crayons (the good kind ones)
- paper towel
- iron
- t-shirts (as low as $2.95 a piece)
- cardboard
Instructions:
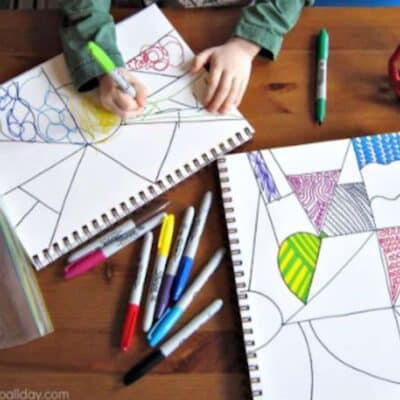
1. Draw a design on the sand paper.
Some tips:
- make sure the picture has bright colors
- keep in mind that the picture will be reverse once printed on t-shirt
- go over the designs with crayons few times to make sure there is enough color to be printed on the shirt later. I went over my kids' designs few times.
- help your kids with the design by setting a theme. We decided to draw each other: my son drew a picture for dad's t-shirt, I drew for my daughter's and my daughter's drew for mine. It was fun.
2. Grab a t-shirt and lay it on the flat service. Put a piece of cardboard inside the t-shirt.
3. Place the design that you draw on sand paper face down on the t-shirt on the spot where you want your design to be.
4. Put a piece of paper towel on top of the sand paper and place hot iron (set on cotton setting).
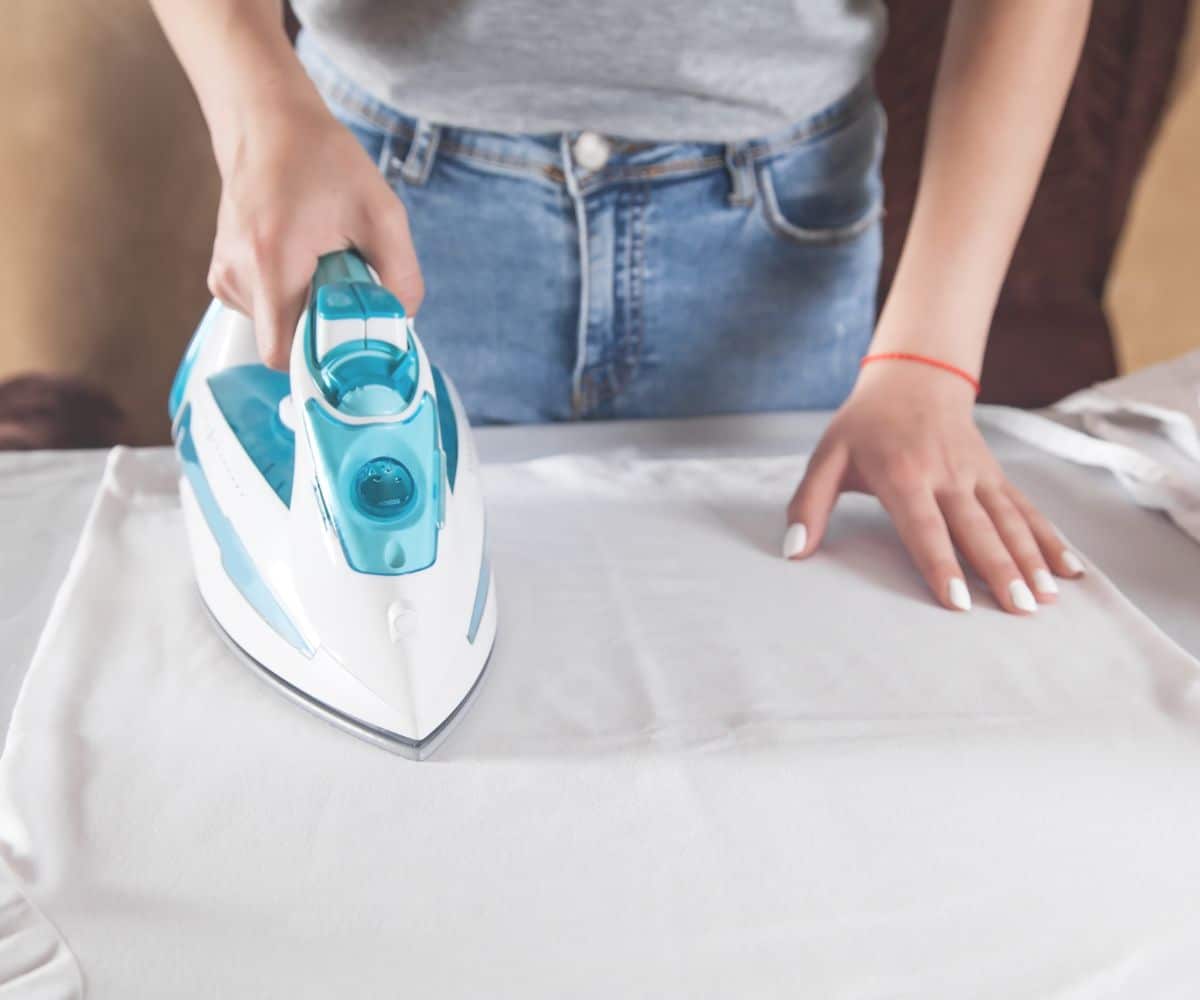
5. Count till 40 and gently remove iron, paper towel and sand paper.
6. To keep crayon "stick'' to the t-shirt put it in the dryer for 15-20 minutes or use hair dryer.
Wear it, wash it and be proud of it! You have a custom made t-shirt by your kid!! How awesome is this!!!
Here is a short video of our DIY printed t-shirts.
This DIY printed t-shirt craft/activity is perfect for family reunions, day care or class craft projects, because the cost is so low and the process is so easy and fun!
I hope you give it a try. It's so much fun!