I can not think of anything more satisfying than creating something from scratch, with hardly any financial outlay. The best part - it turns out to be one of the best things you have ever made!
My son is only interested in cars and only cars. So I racked my brain and came up with something I knew for sure he would be interested in.

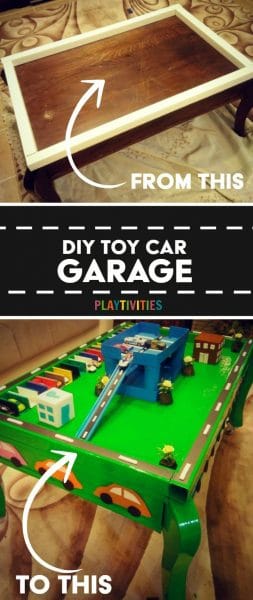
DIY Toy Car Garage was my next project.
This is what I did.
Put an ad out for an old coffee table on my local for sale and swap group on Facebook and within a day I had a reply from a lady that was just going to put hers in the skip. No cost involved there.
DIY Toy Car Garage Table Instructions
Materials needed
Affiliate links to Amazon included for your convenience. Check first, you probably have most of the things needed for this project already.
- Old coffee table
- Plastic cable tracking or 2x2
- Greenwood paint and brush
- Colorful masking tape
- Toy cars (you probably already have them at home)
- 4 toilet rolls and an old shoe box
- Silicone glue
- Furniture caster wheels (optional)
- Car race tape (optional)
- Toy traffic signs and lights (optional)
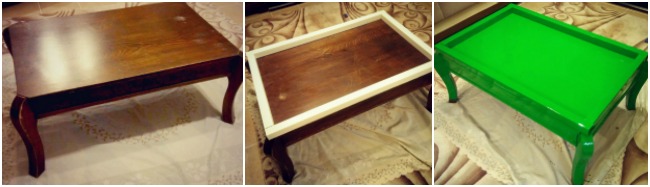
1. I sanded it all down and added a barrier around the outside of the table (so the cars did not fly off onto the floor) and this was made from some plastic cable tracking.
2. Next were a few coats of green wooden paint.
3. Then screwed on some wheels onto the bottom, which meant, it could be moved easily from room to room.
4. I then made colorful felt cars from a template on clipart and glued these all around the sides of the table. My son now knows all these colors off by heart.
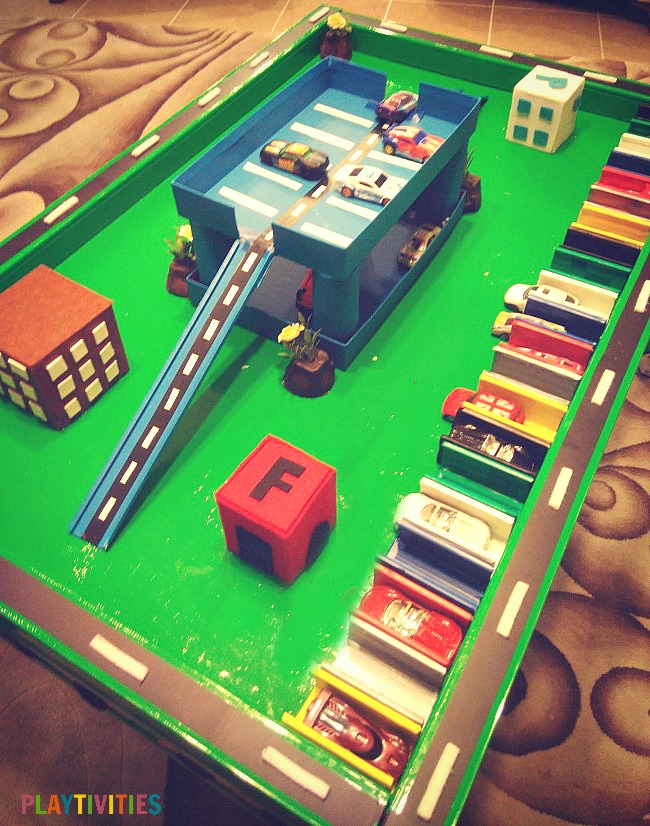
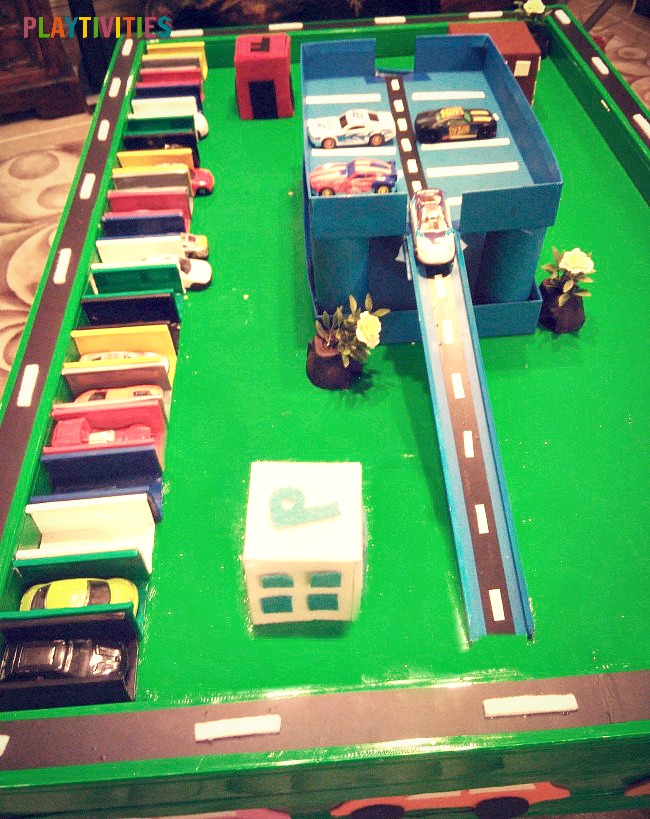
5. Now Arif has at least 50 small cars in all different colors, so I wanted to make some parking lots for him to park the cars into! I decided to use the leftover cable tracking and cut this into 8 cm lengths. I covered them with colorful electric tape as I had this in the house and worked out cheaper than buying durable paint.
He now matches this cars up with the right color parking lots and can reverse in better than me!
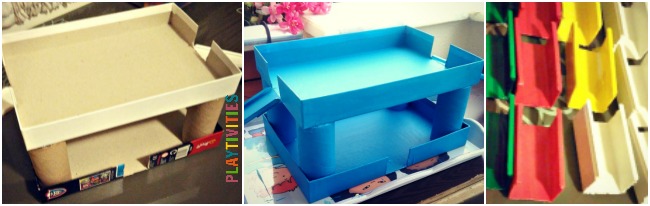
6. Next was a car park garage and for this I used 4 toilet rolls and an old jigsaw box. Silicone glue is the best for securing the toilet rolls in place, but don't forget to let it dry completely before you paint. For the ramps I used up the last bits of cable tracking and taped these on underneath with strong tape.
7. Once it was all painted blue, I added some black electrical tape for a road and cut thin strips of white for the lines in the middle of the road or you can use this tape.
8. Finally I added few trees by cutting up an egg box, painting them brown and sticking a few flowers in from an old plastic plant I had in the house (hated the plant thing anyway).
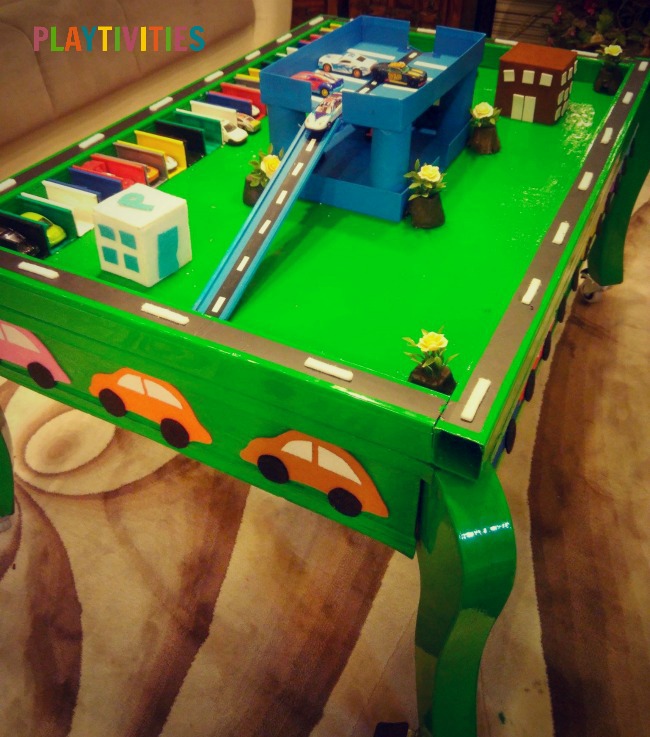
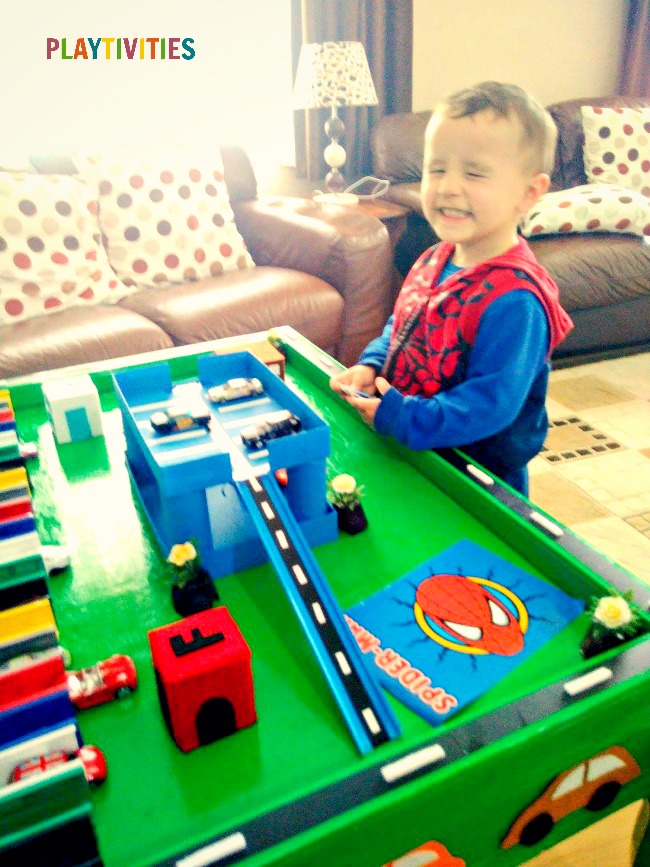
Finally my DIY toy car garage is finished. As you can see from the photo above, my son is beyond excited to play with his new car garage. Hopefully, for hours and hours.
More amazing DIY toys for kids