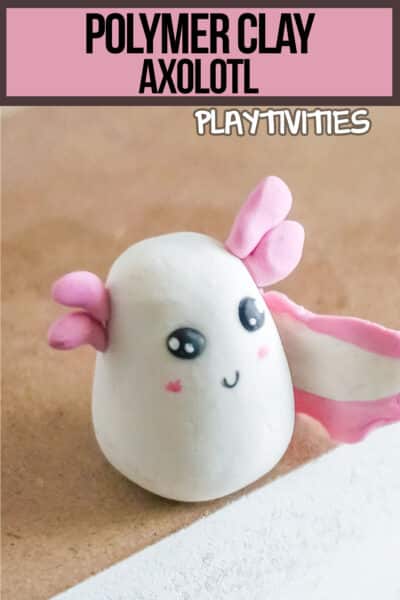
Do you love learning new crafting techniques? If so, you're going to love this polymer clay axolotl tutorial! This adorable little creature is perfect for anyone who loves amphibians, and it's a great project for beginners.
In this tutorial, we will show you how to make a polymer clay axolotl step-by-step. We'll also share some tips on how to make your axolotl look as adorable as possible!

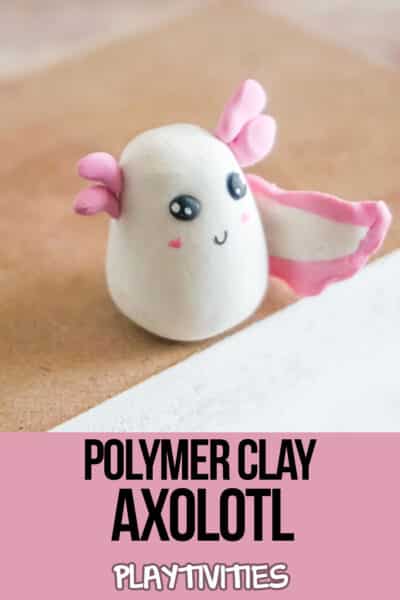
How to Make a Polymer Clay Axolotl
What Is An Axolotl?
The axolotl, also known as a Mexican salamander or a water dragon, is a permanently aquatic creature that is native to Mexico. These creatures have become popular pets in recent years due to their cute appearance and tame nature.
If you're not familiar with axolotls, here are some quick facts:
- Axolotls are not fish, they are amphibians.
- They can grow up to 12 inches in length.
- Axolotls have gills and can breathe underwater.
- Their diet consists mostly of insects and small fish.
What Is Polymer Clay?
Polymer clay is a type of modeling clay that is made from polyvinyl chloride (PVC) resin. This type of clay is popular among crafters because it is very versatile and easy to use. Polymer clay can be molded, sculpted, and shaped into just about anything imaginable. It's also oven-bakeable, so you can set it in it's permanent shape in minutes instead of waiting days for air-dry clay.
Why Use Polymer Clay Instead of Air-Dry Clay?
There are two main types of modeling clay: air-dry clay and polymer clay. So, why use polymer clay instead of air-dry clay? Here are a few reasons:
- Polymer clay is much stronger than air-dry clay.
- It doesn't shrink or crack when it dries.
- Polymer clay can be baked in the oven, which makes it perfect for projects that need to be durable.
- It comes in a wide variety of colors.
How Do You Turn a Polymer Clay Sculpture into a Necklace or Bracelet Charm?
If you want to turn your polymer clay axolotl into a necklace or bracelet charm, all you need to do is add a jump ring! A jump ring is a small metal ring that is used to attach charms to jewelry. To add a jump ring, simply thread it through the top of your axolotl's head BEFORE you bake it. Then, use a pair of needle-nose pliers to close the jump ring. Then bake as planned. That's it! Your axolotl charm is now ready to string on a necklace or bracelet.

What Supplies Do You Need to Make a Polymer Clay Axolotl?
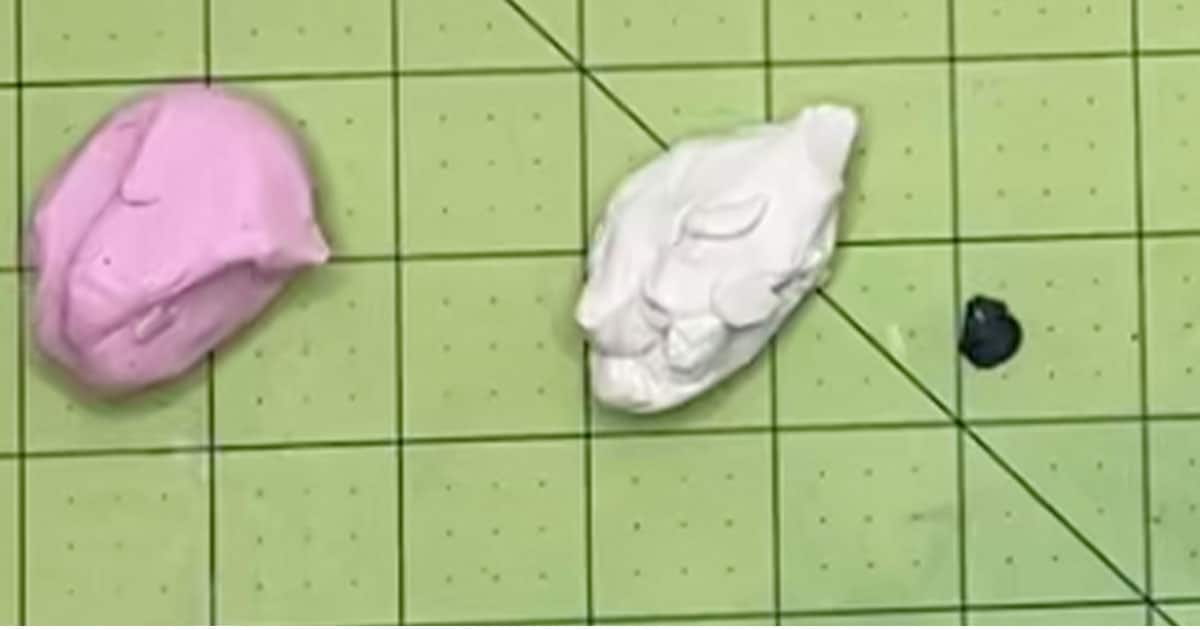
- Pink Polymer Clay
- Black Polymer Clay
- White Polymer Clay
- Rubbing Alcohol
- White Acrylic Paint
- Pink Acrylic Paint
What Tools Do You Need to Make a Polymer Clay Axolotl?
- Chopstick or ⅛-inch Dowel
- Oven
- Parchment Paper
- Baking Sheet
- Toothpick
- Paintbrush
How Do You Make a Polymer Clay Axolotl?
Preheat your oven to the temperature noted on your clay packaging. For my clay the baking temperature is 230-degrees F.
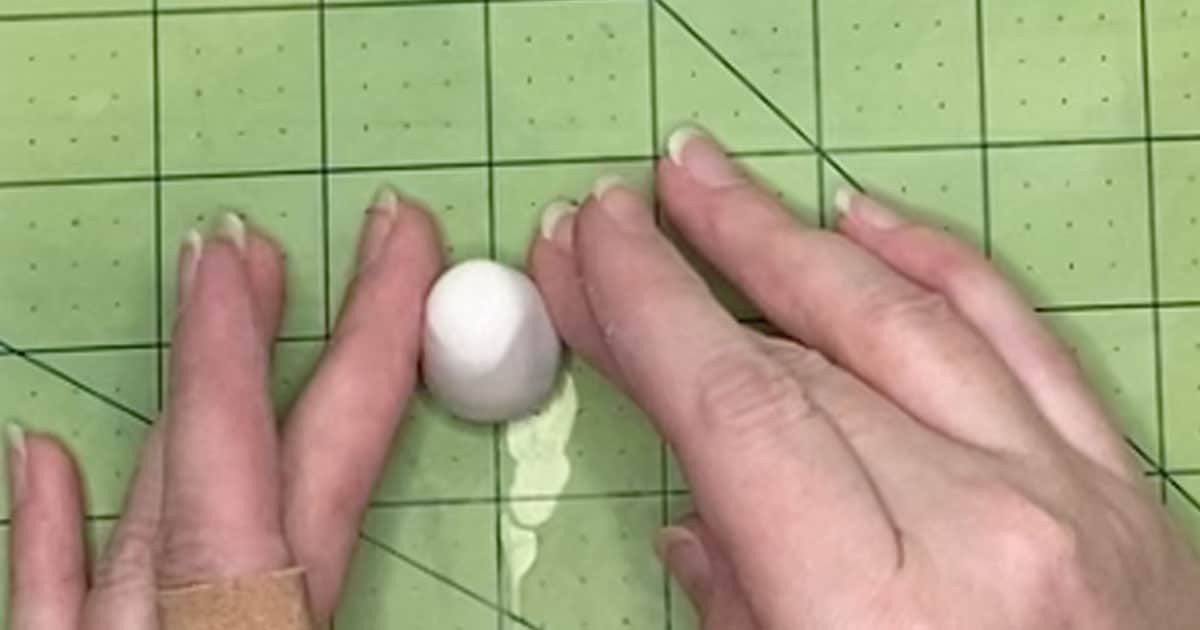
To make the body of the axolotl, break off a small portion (about 1 inch square) of white clay.
Roll the white clay into a nice, neat ball that is very smooth, then roll and shape the top (your choice of which end is the top) into a bit of a wide-domed cone. This should be as rounded and smooth as you can get it.Mash the other end of the white clay into a flat bottom.
Make the tail by pinching off a small portion of white clay (about 1/8-inch by 1/2-inch) and rolling it into a short, fat snake (about 1/2-inch long) and flatten it.
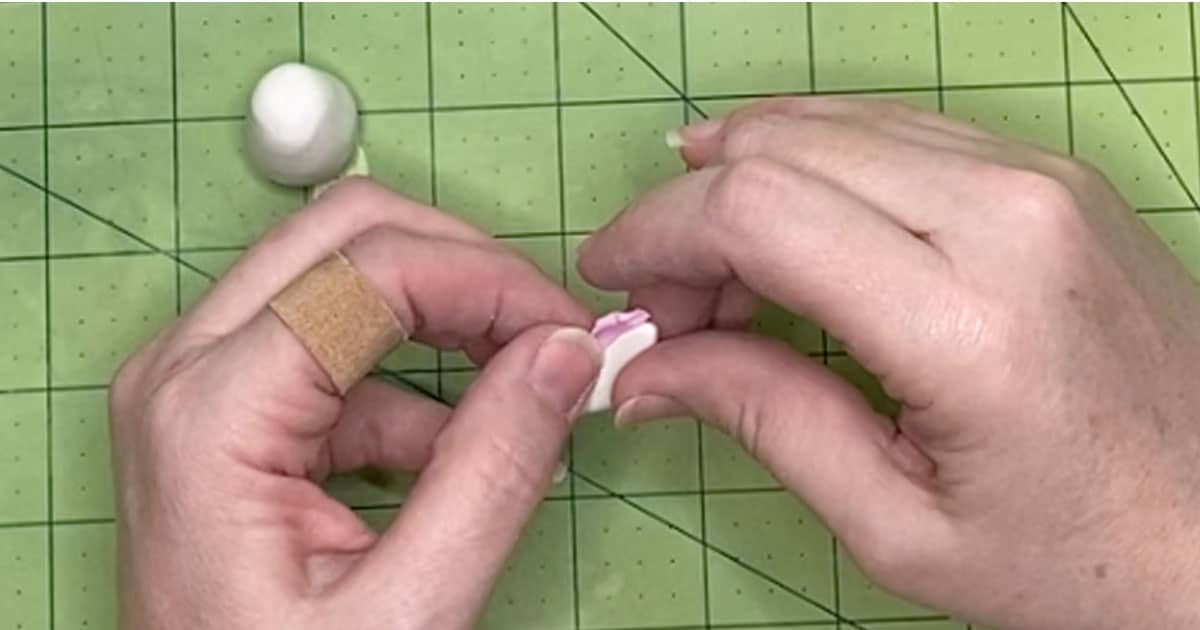
Add the pink frill to the tail by pinching off two small portions of pink clay (about 1/8-inch square) and rolling it into a short, fat snake (about 1/2-inch long) and flattening them both. Then gently press the skinny side of each pink piece to the skinny side of the white piece, then press the two pink pieces together around the tip of the white, to make it all look like one piece.
Affix the other end of the tail to the back center of the axolotl body, wrapping it around a little so that it's visible from the front. To help the edges affix, you can use a paintbrush to work the edge of the pink into the white.
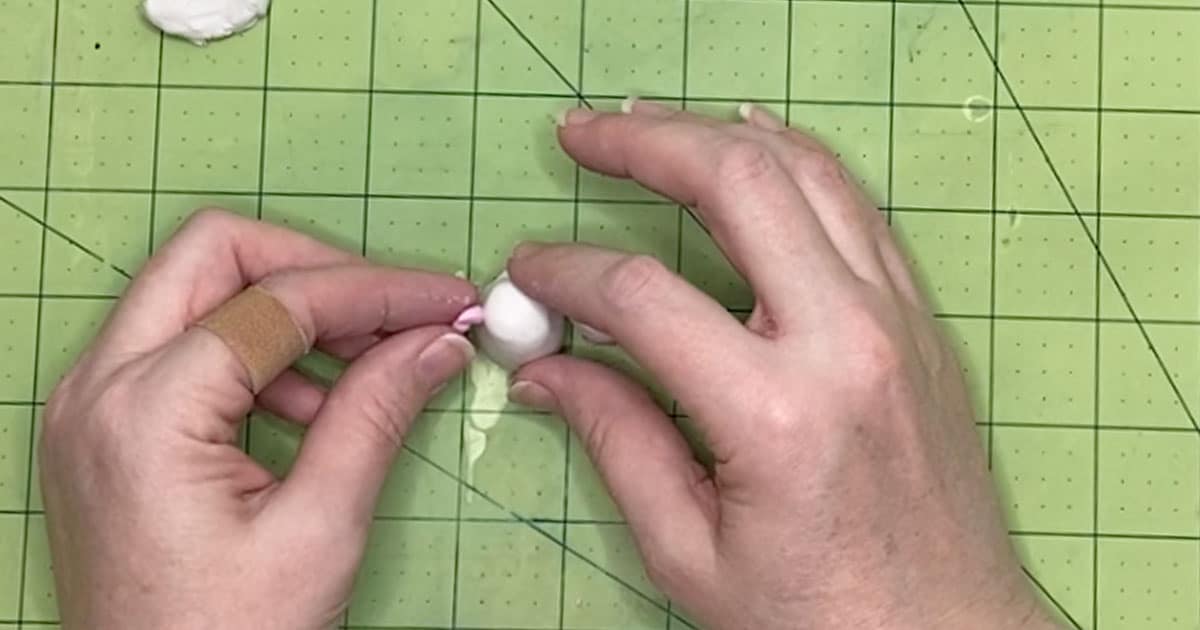
Make the head protuberances (head thingies) by pinching off four very small pieces of pink clay (about ⅛-inch square each). Roll each of these into small snakes with one fat end and affix two to either side of the top of the white clay. To help the edges affix, you can use a paintbrush to work the edge of the pink into the white.
Add eye sockets by pressing the end of the chopstick twice into the space between the head thingies and the center of the body, leaving a deep crater where each of the eyes will go.
Add the eyes by pinching off the tiniest piece of black clay (about 1/16-inch square) and rolling it into a tight, neat ball. Repeat to make two balls, then press them into the craters you made in the last step.
Clean your fingerprints and tiny imperfections from your axolotl by gently brushing it with a paintbrush dampened in rubbing alcohol. This does not have to be super wet with the alcohol, just a little goes a long way. Take care to brush the white parts first, followed by the darker colors so that no black clay smears on your white clay.
Bake the axolotl per the instructions on your clay packaging. Allow to cool completely before handling.
Using the end of a toothpick, place the smallest dot of white paint on the black part of the eyes and adding a teeny tiny smile under the eyes.
Using the tip of the paintbrush, add two pink dots to either side of the smile for blush.
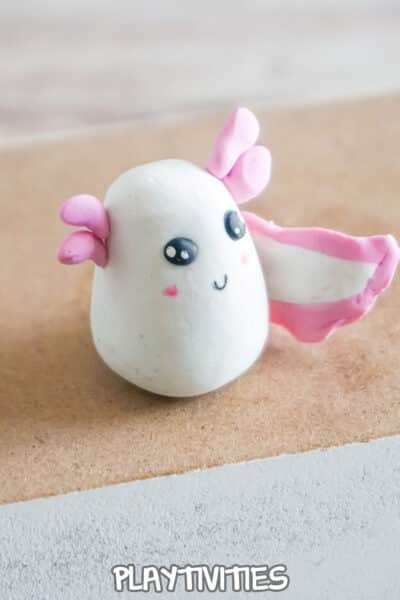
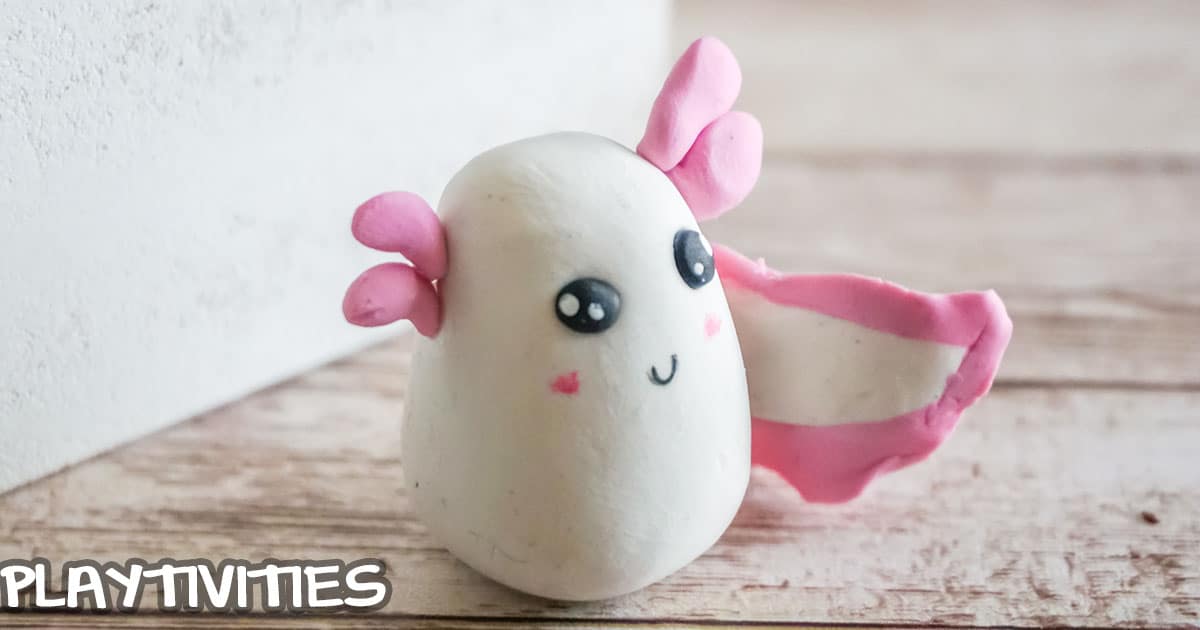
Allow the paint to dry then enjoy!

Isn't this just the funnest little craft?! If you wanted to turn it into a charm, you'll just add an eye hook and chain. I personally just love having the figure on my desk.
If you loved this as much as I do, be sure to pin it to your favorite craft board on pinterest so you can find it again fast when you're ready.
MORE FUN KIDS CRAFTS YOU'LL LOVE
- Weather Science Experiments for Kids
- Epic Fort for a Cozy Family Evening
- 50 Art Supplies from Your Trashcan
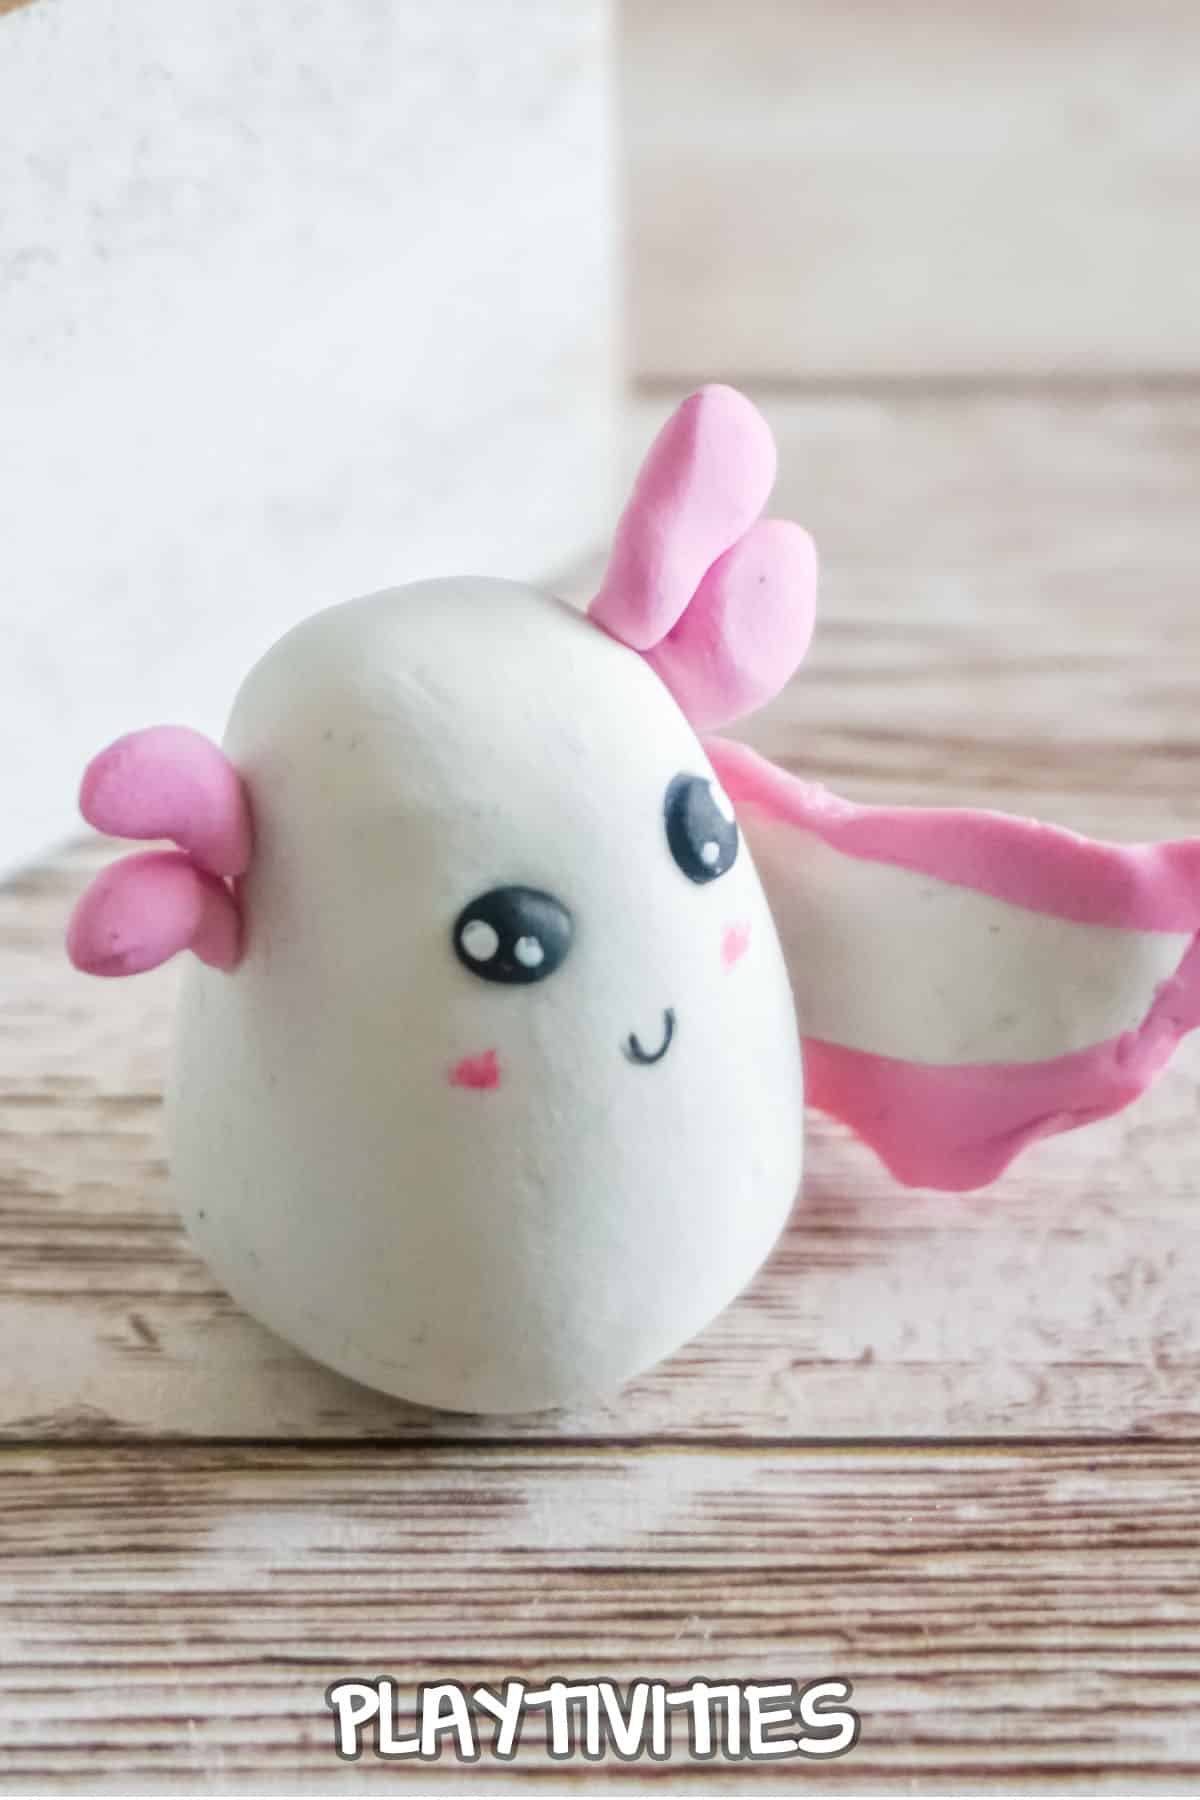
Polymer Clay Axolotl

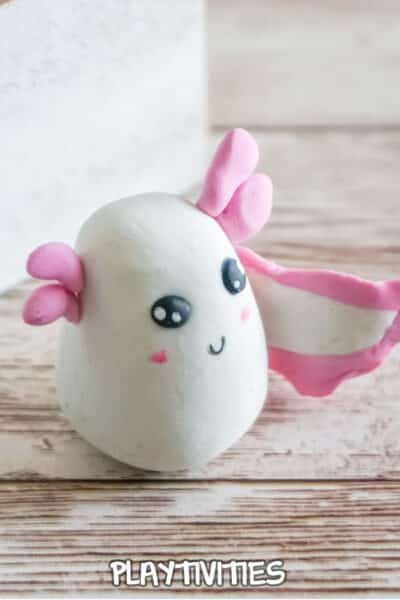
So cute and ridiculously easy, this fun polymer clay axolotl is a great kids craft to make a charm for a necklace or bracelet - or just a fun desk decoration.
Materials
- Pink Polymer Clay
- Black Polymer Clay
- White Polymer Clay
- Rubbing Alcohol
- White Acrylic Paint
- Pink Acrylic Paint
Tools
- Chopstick or ⅛-inch Dowel
- Oven
- Parchment Paper
- Baking Sheet
- Toothpick
- Paintbrush
Instructions
- Preheat your oven to the temperature noted on your clay packaging. For my clay the baking temperature is 230-degrees F.
- To make the body of the axolotl, break off a small portion (about 1 inch square) of white clay.
- Roll the white clay into a nice, neat ball that is very smooth, then roll and shape the top (your choice of which end is the top) into a bit of a wide-domed cone. This should be as rounded and smooth as you can get it.
- Mash the other end of the white clay into a flat bottom.
- Make the tail by pinching off a small portion of white clay (about 1/8-inch by 1/2-inch) and rolling it into a short, fat snake (about 1/2-inch long) and flatten it.
- Add the pink frill to the tail by pinching off two small portions of pink clay (about 1/8-inch square) and rolling it into a short, fat snake (about 1/2-inch long) and flattening them both. Then gently press the skinny side of each pink piece to the skinny side of the white piece, then press the two pink pieces together around the tip of the white, to make it all look like one piece.
- Affix the other end of the tail to the back center of the axolotl body, wrapping it around a little so that it's visible from the front. To help the edges affix, you can use a paintbrush to work the edge of the pink into the white.
- Make the head protuberances (head thingies) by pinching off four very small pieces of pink clay (about ⅛-inch square each). Roll each of these into small snakes with one fat end and affix two to either side of the top of the white clay. To help the edges affix, you can use a paintbrush to work the edge of the pink into the white.
- Add eye sockets by pressing the end of the chopstick twice into the space between the head thingies and the center of the body, leaving a deep crater where each of the eyes will go.
- Add the eyes by pinching off the tiniest piece of black clay (about 1/16-inch square) and rolling it into a tight, neat ball. Repeat to make two balls, then press them into the craters you made in the last step.
- Clean your fingerprints and tiny imperfections from your axolotl by gently brushing it with a paintbrush dampened in rubbing alcohol. This does not have to be super wet with the alcohol, just a little goes a long way. Take care to brush the white parts first, followed by the darker colors so that no black clay smears on your white clay.
- Bake the axolotl per the instructions on your clay packaging. Allow to cool completely before handling.
- Using the end of a toothpick, place the smallest dot of white paint on the black part of the eyes and adding a teeny tiny smile under the eyes.
- Using the tip of the paintbrush, add two pink dots to either side of the smile for blush.
- Allow the paint to dry then enjoy!


Leave a Reply