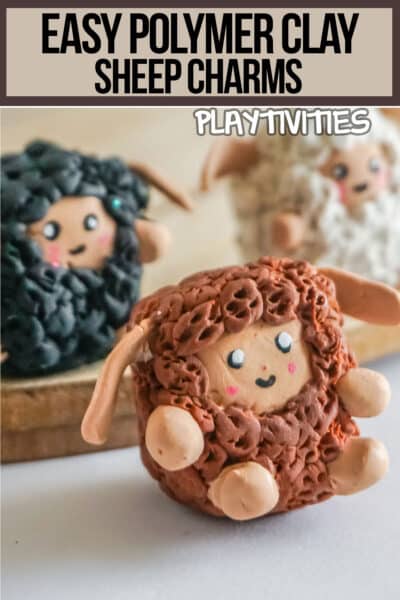
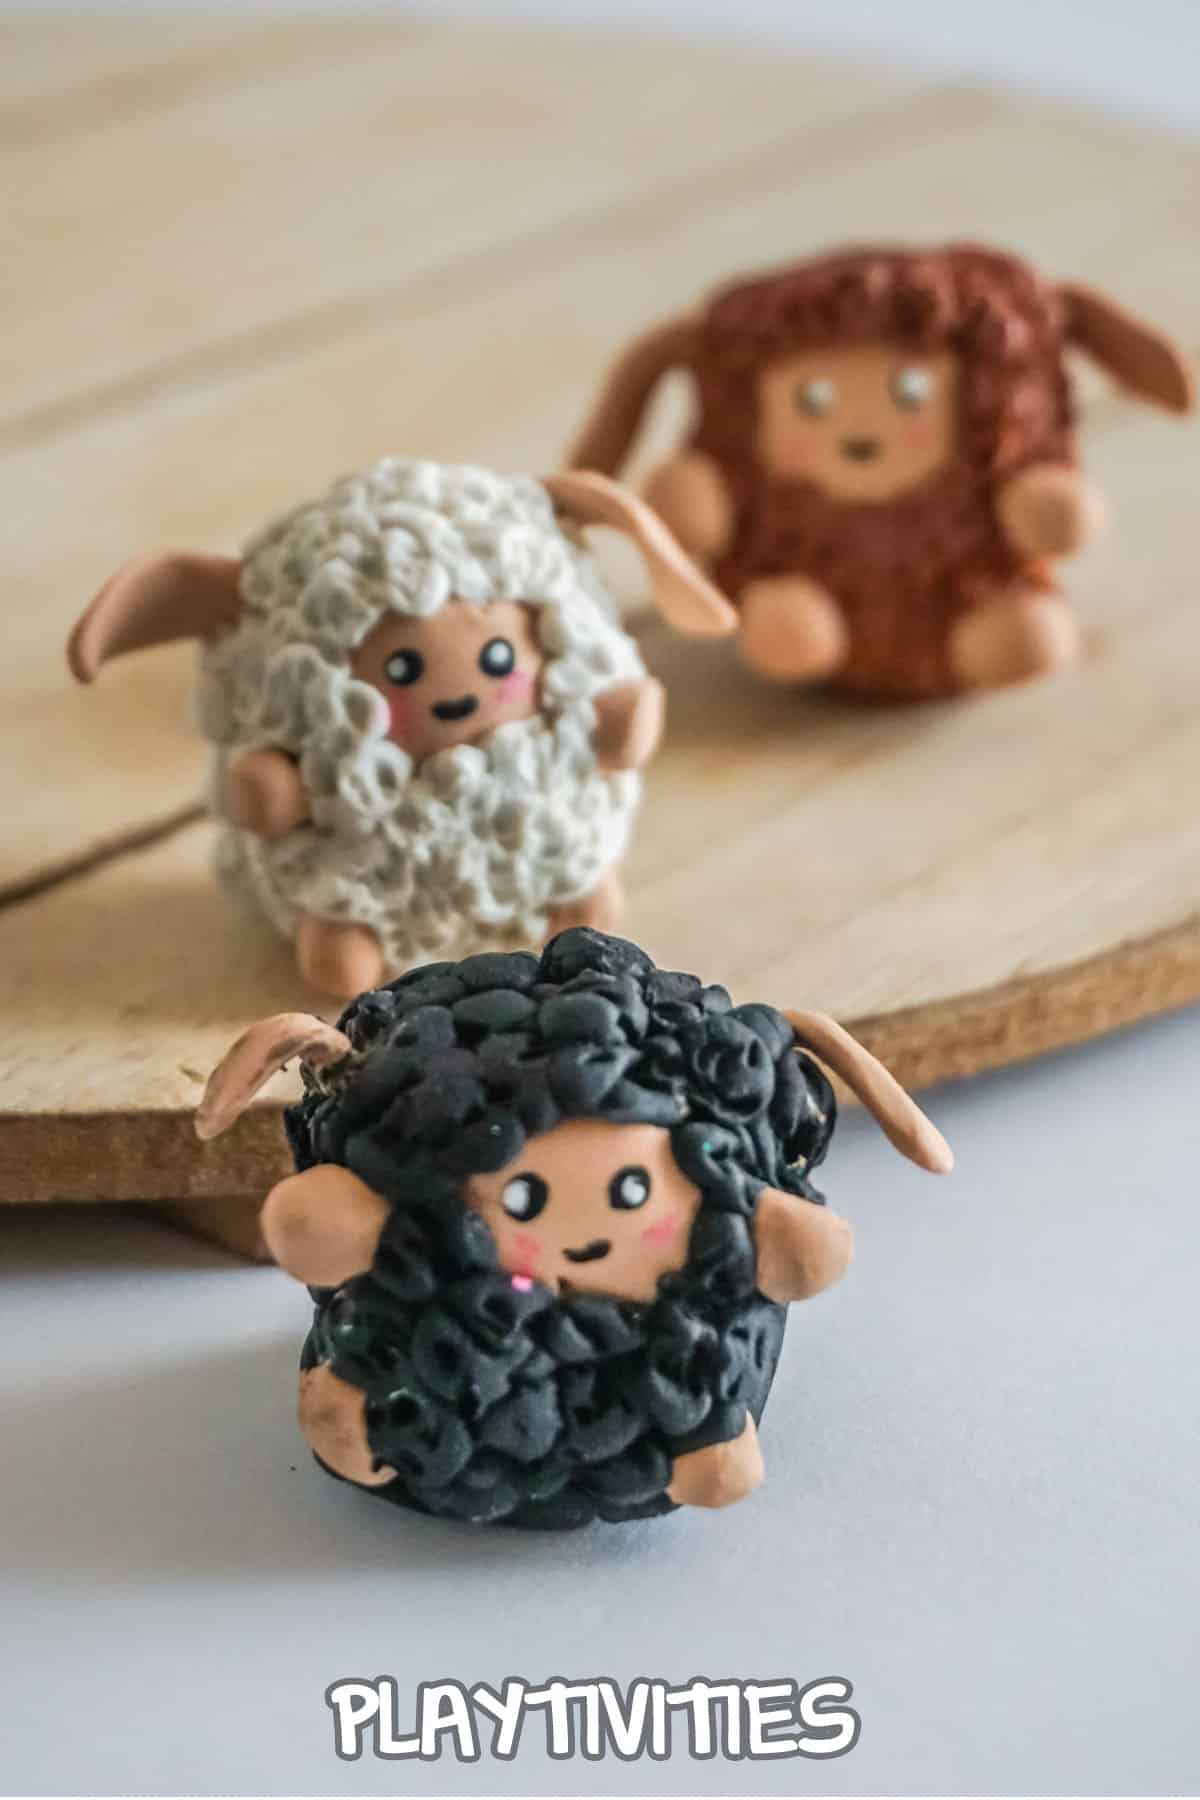
Making polymer clay sheep is a fun and easy kids craft. This tutorial will show you how to make a simple sheep out of polymer clay, using only a few basic steps. Kids will love making these little sheep, and they can be used for all sorts of fun projects.

How to Make Polymer Clay Sheep
What is Polymer Clay?
Polymer clay is a type of modeling clay that is made from polymers. It is non-toxic, and can be easily worked with using just your hands. Polymer clay comes in all sorts of colors, making it perfect for crafting projects like this one. You can find it at most craft stores, or online.
Why Use Polymer Clay Instead of Air-Dry Clay?
There are a few reasons why polymer clay is a good choice for kids crafts. First, it doesn't require any baking, so it's safe for little ones to use. Second, it's very easy to work with - even young children can easily mold it into shape. And finally, polymer clay is very durable, so your sheep will last for years to come.
Can You Paint Polymer Clay?
Yes! You can paint polymer clay with acrylic paints, or even just regular craft paint. If you want to add some extra detail to your sheep, you can use a toothpick or other sharp object to etch lines into the clay before painting. Or you can use a toothpick to do the actual painting!
Do You Need to Seal Your Polymer Clay Creations After Baking?
No, you don't need to seal polymer clay creations. However, if you want to, you can use a clear coating of polyurethane or other sealant if you want - just make sure it's formulated for use on polymer clay. This will help protect your sheep from dirt and dust, and keep them looking new for longer.
How Do You Turn A Polymer Clay Sheep into a Charm for a Bracelet, Necklace or Keychain?
Before you bake them, you can add a jump ring to the top of each sheep, and then bake. Once cooled, just thread them onto a chain or cord. You can also glue magnets to the back of your sheep, and use them as refrigerator magnets. Or you can glue a pin back to the back of each sheep, and turn them into pins or brooches. The possibilities are endless!

What Supplies Do You Need to Make Polymer Clay Sheep?
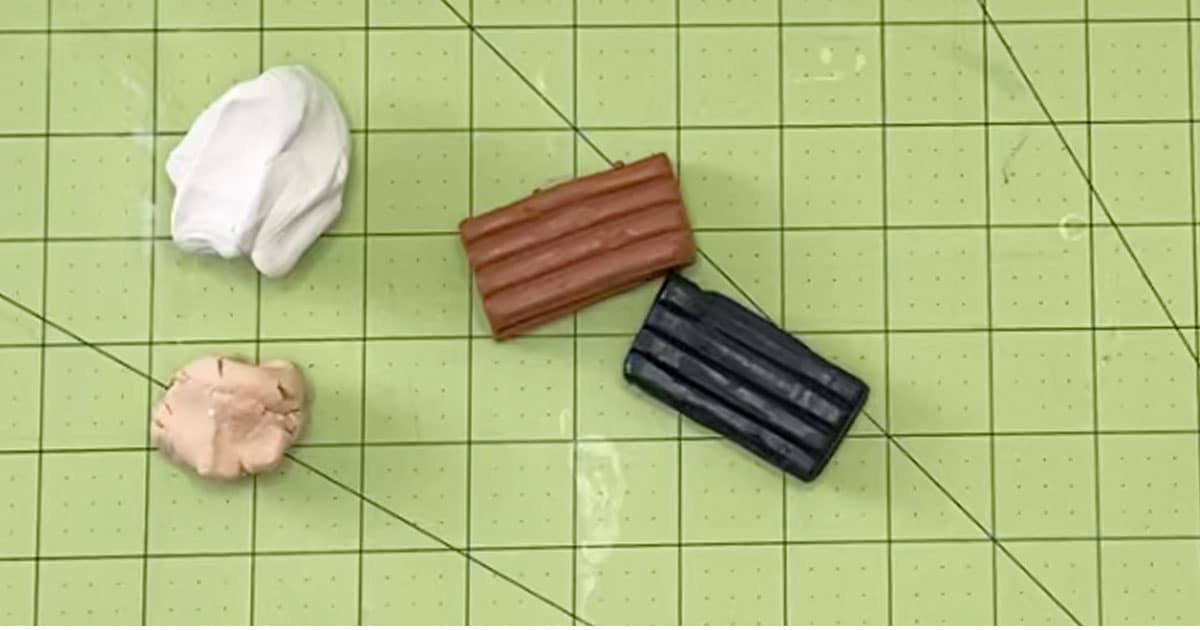
- Light Brown (Beige) Polymer Clay
- Dark Brown Polymer Clay
- Black Polymer Clay
- White Polymer Clay
- Rubbing Alcohol
- White Acrylic Paint
- Pink Acrylic Paint
What Tools Do You Need to Make Polymer Clay Sheep?
- Chopstick or ⅛-inch Dowel
- Oven
- Parchment Paper
- Baking Sheet
- Toothpick
- Paintbrush
How Do You Make Polymer Clay Sheep?
Preheat your oven to the temperature noted on your clay packaging. For my clay the baking temperature is 230-degrees F.
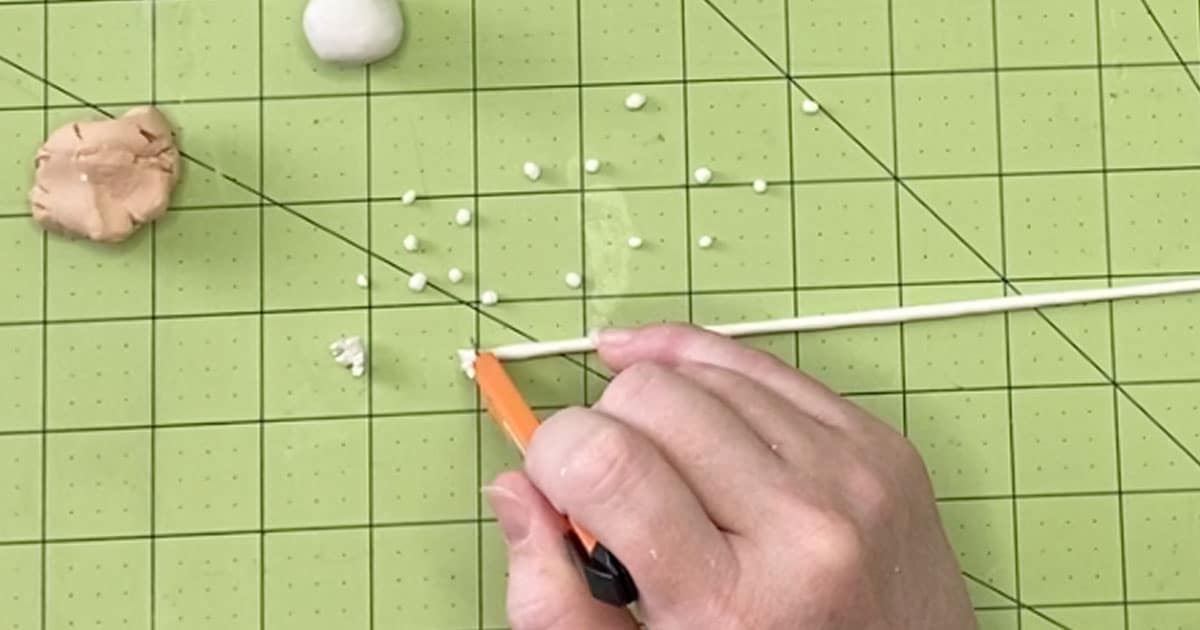
Start by breaking off a small portion (about 1 inch square) of white clay.
Roll this into a small thin snake, then pinch off small pieces no longer than 1/8 inch. Work each piece into a tight, neat ball. Set aside.
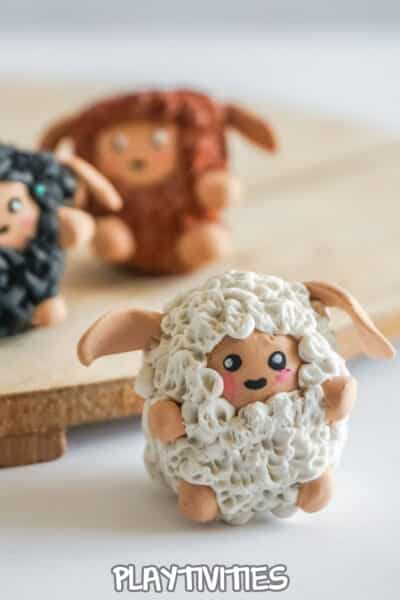
To make the body of a white sheep, break off a small portion (about 1 inch square) of white clay.
Roll the white clay into a nice, neat ball that is very smooth, then roll and shape the top (your choice of which end is the top) into a bit of a wide-domed cone. This should be as rounded and smooth as you can get it.
Mash the other end of the white clay into a flat bottom. Set the sheep body aside.
Break off a very small portion (about 1/4-inch square) of light brown (beige) clay.
Portion off 4 equally-sized teeny tiny bits, then roll them into tight little balls. Set aside
Work the remaining portion of light brown clay into a flat, thin rectangle about 1/2-inch by 3/4-inch. Round all of the corners and get this as flat as possible.
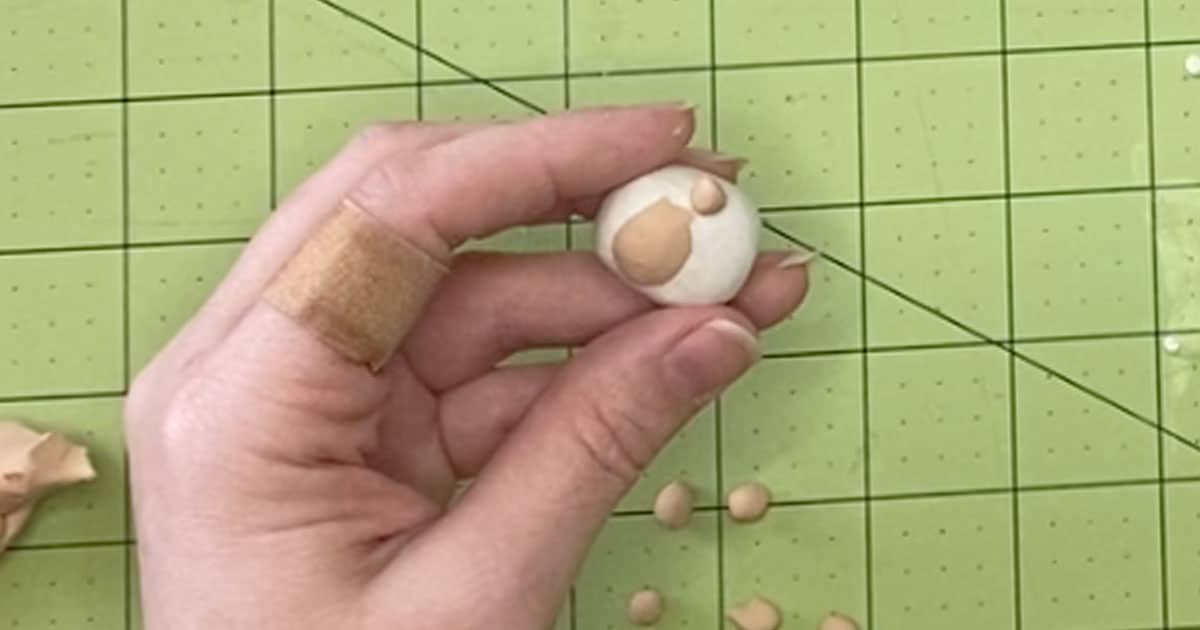
Position this flat piece of light brown clay on the top half and front of your sheep body piece. Gently press the two pieces of clay together, taking care not to disfigure either of them. The light brown portion will be the sheep's face.
Affix the four teeny tiny light brown balls below the sheep's face, on either side of the body. These will be the "hands" and "feet".
Make the ears by pinching off a small piece of the light brown (beige) clay (about ½-inch long by ¼-inch wide) and mash it flat and long (when mashed flat, it should be about ¾-inch long by ¼-inch wide). Round one end of the piece. Affix this to one side of the head of the sheep, above the face. Repeat to make a second ear.
Make your sheep furry/fuzzy by pressing on all the tiny balls you made initially. Cover the entire body of the sheep, leaving the face, ears, hands and feet exposed. If there is some overlap, don't worry, we will be able to fix that in the next step.
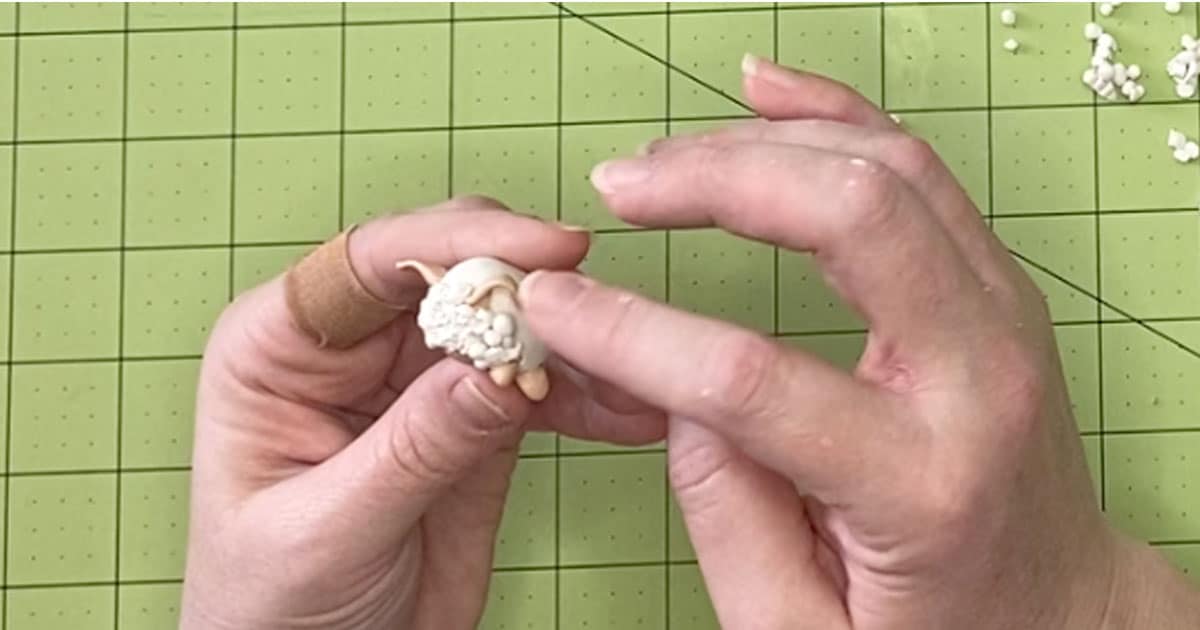
Using the chopstick or a toothpick, smoosh, swirl, or poke each of the balls on the outside of the sheep, mashing them together and making them look quite textured. You can take this same technique to the edges of each of the balls, moving them around a bit to eliminate overlap or close any gaps.
Clean your fingerprints and tiny imperfections from your cow by gently brushing the cow with a paintbrush dampened in rubbing alcohol. This does not have to be super wet with the alcohol, just a little goes a long way. Take care to brush the white parts first, followed by the darker colors so that no brown clay smears on your white clay.
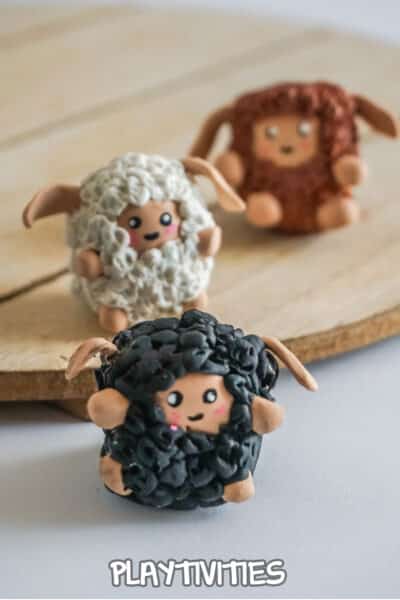
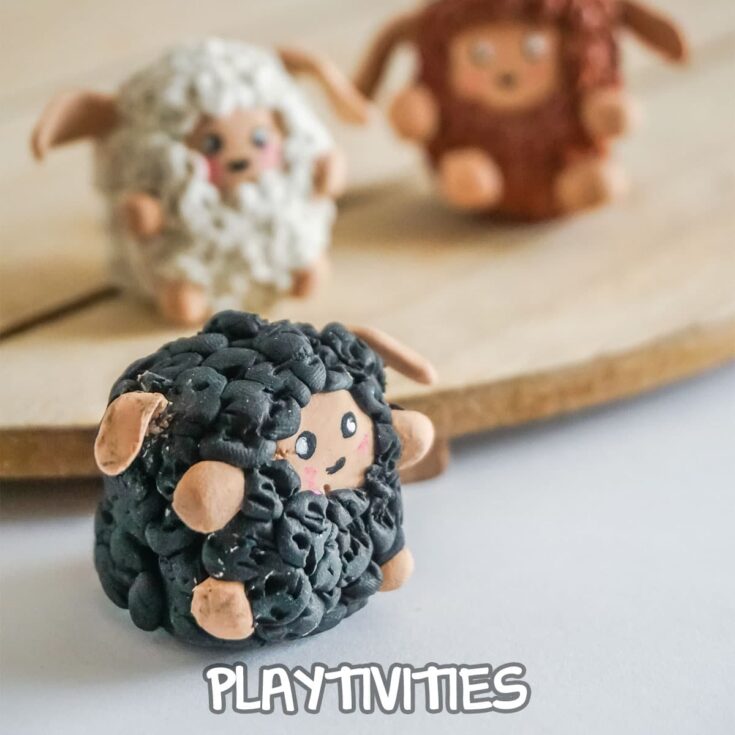
Repeat with dark brown clay to make a brown sheep and black clay to make a black sheep.
Bake the sheep per the instructions on your clay packaging. Allow to cool completely before handling.
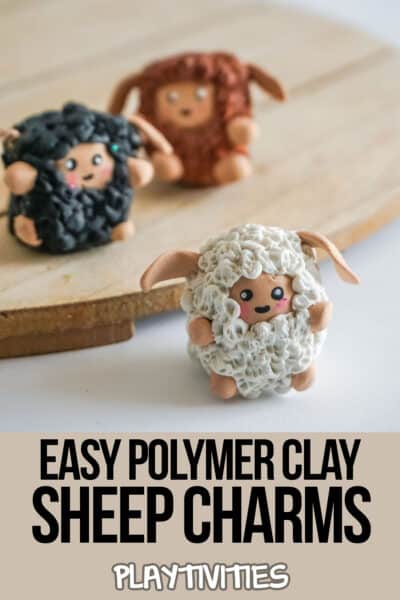
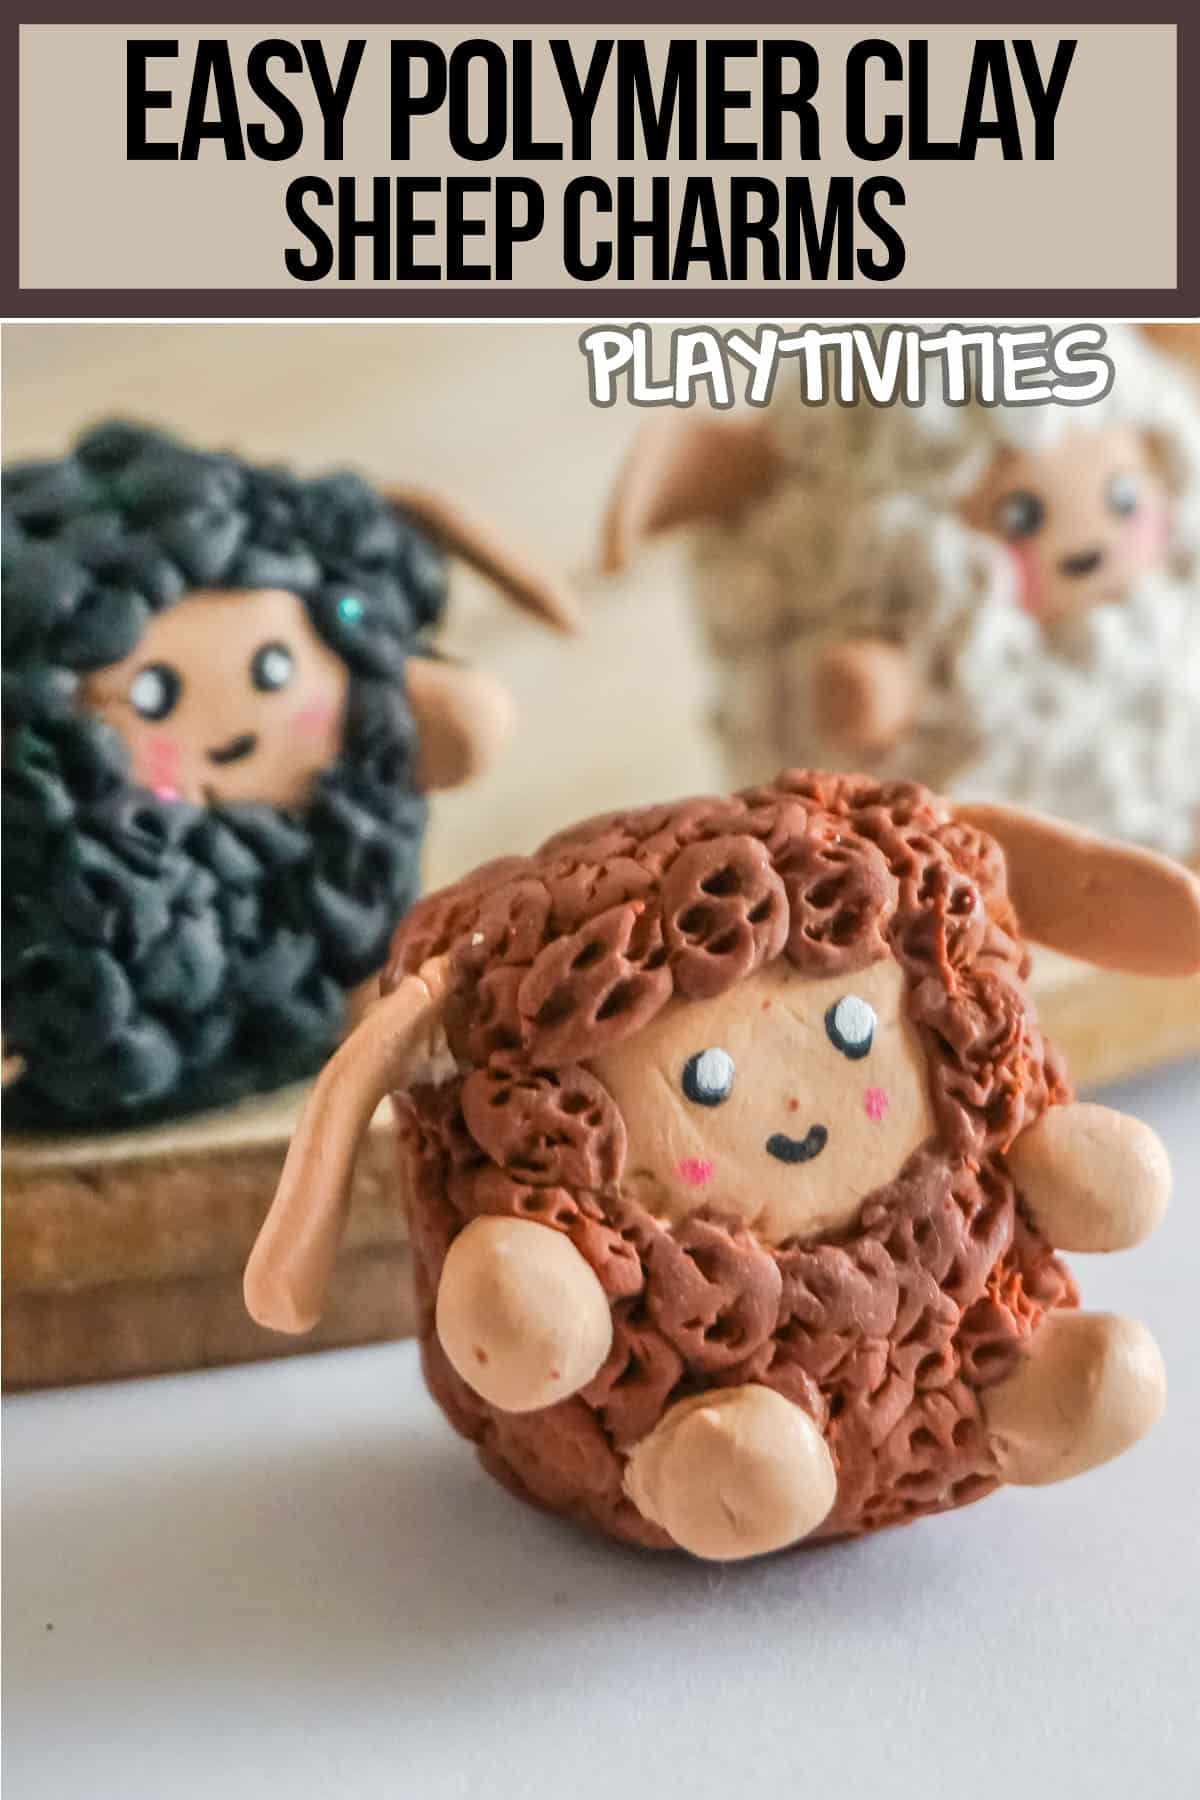
Using the toothpick, paint a smile and two eyes onto the face of the sheep.
Using the paintbrush, dry-brush the tiniest bit of pink on either side of the smile for blush.
Using the clean end of the toothpick, place the smallest dot of white paint on the black part of the eyes.
Allow the paint to dry then enjoy!
Isn't this just the funnest little craft?! If you wanted to turn it into a charm, you'll just add an eye hook and chain. I personally just love having the figure on my desk.
If you loved this as much as I do, be sure to pin it to your favorite craft board on pinterest so you can find it again fast when you're ready.
MORE FUN KIDS CRAFTS YOU'LL LOVE
- Weather Science Experiments for Kids
- Epic Fort for a Cozy Family Evening
- 50 Art Supplies from Your Trashcan
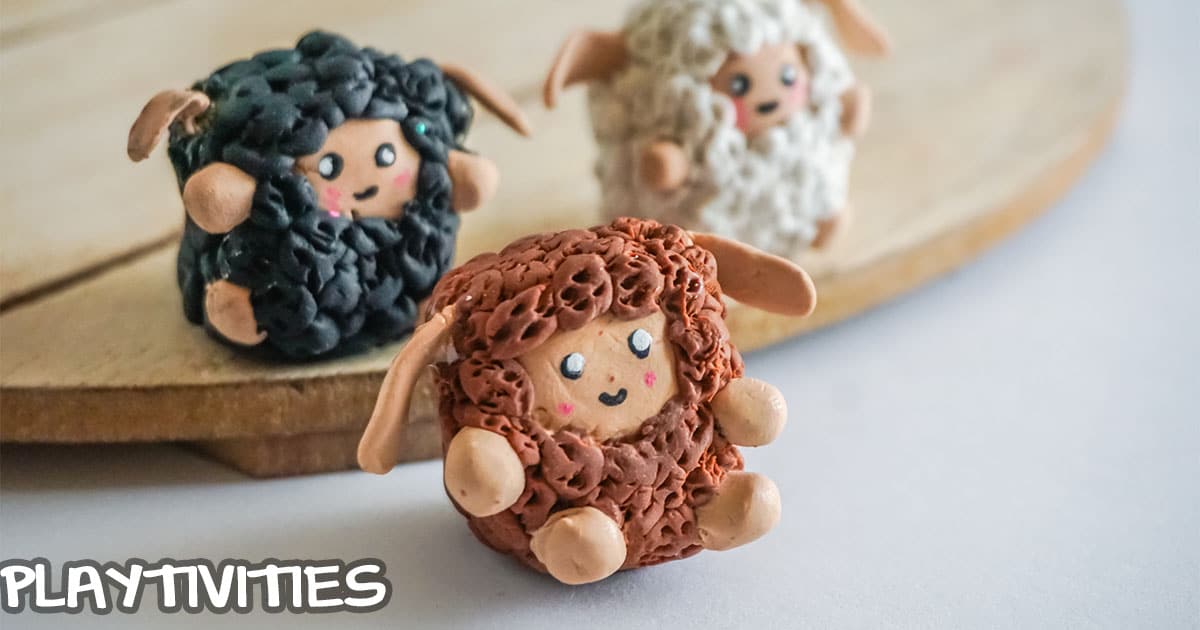
Polymer Clay Sheep
Easy and fast to make, these fun polymer clay sheep charms are a cute kids craft that they can make for a necklace or bracelet charm or a gift for a friend.
Materials
- Light Brown (Beige) Polymer Clay
- Dark Brown Polymer Clay
- Black Polymer Clay
- White Polymer Clay
- Rubbing Alcohol
- White Acrylic Paint
- Pink Acrylic Paint
Tools
- Chopstick or ⅛-inch Dowel
- Oven
- Parchment Paper
- Baking Sheet
- Toothpick
- Paintbrush
Instructions
- Preheat your oven to the temperature noted on your clay packaging. For my clay the baking temperature is 230-degrees F.
- Start by breaking off a small portion (about 1 inch square) of white clay.
- Roll this into a small thin snake, then pinch off small pieces no longer than 1/8 inch. Work each piece into a tight, neat ball. Set aside.
- To make the body of a white sheep, break off a small portion (about 1 inch square) of white clay.
- Roll the white clay into a nice, neat ball that is very smooth, then roll and shape the top (your choice of which end is the top) into a bit of a wide-domed cone. This should be as rounded and smooth as you can get it.
- Mash the other end of the white clay into a flat bottom. Set the sheep body aside.
- Break off a very small portion (about 1/4-inch square) of light brown (beige) clay.
- Portion off 4 equally-sized teeny tiny bits, then roll them into tight little balls. Set aside
- Work the remaining portion of light brown clay into a flat, thin rectangle about 1/2-inch by 3/4-inch. Round all of the corners and get this as flat as possible.
- Position this flat piece of light brown clay on the top half and front of your sheep body piece. Gently press the two pieces of clay together, taking care not to disfigure either of them. The light brown portion will be the sheep's face.
- Affix the four teeny tiny light brown balls below the sheep's face, on either side of the body. These will be the "hands" and "feet".
- Make the ears by pinching off a small piece of the light brown (beige) clay (about ½-inch long by ¼-inch wide) and mash it flat and long (when mashed flat, it should be about ¾-inch long by ¼-inch wide). Round one end of the piece. Affix this to one side of the head of the sheep, above the face. Repeat to make a second ear.
- Make your sheep furry/fuzzy by pressing on all the tiny balls you made initially. Cover the entire body of the sheep, leaving the face, ears, hands and feet exposed. If there is some overlap, don't worry, we will be able to fix that in the next step.
- Using the chopstick or a toothpick, smoosh, swirl, or poke each of the balls on the outside of the sheep, mashing them together and making them look quite textured. You can take this same technique to the edges of each of the balls, moving them around a bit to eliminate overlap or close any gaps.
- Clean your fingerprints and tiny imperfections from your cow by gently brushing the cow with a paintbrush dampened in rubbing alcohol. This does not have to be super wet with the alcohol, just a little goes a long way. Take care to brush the white parts first, followed by the darker colors so that no brown clay smears on your white clay.
- Repeat with dark brown clay to make a brown sheep and black clay to make a black sheep.
- Bake the sheep per the instructions on your clay packaging. Allow to cool completely before handling.
- Using the toothpick, paint a smile and two eyes onto the face of the sheep.
- Using the paintbrush, dry-brush the tiniest bit of pink on either side of the smile for blush.
- Using the clean end of the toothpick, place the smallest dot of white paint on the black part of the eyes.
- Allow the paint to dry then enjoy!


Leave a Reply