

Looking for a fun and easy kids craft? Look no further than this polymer clay animal cracker project! This is a great activity for children of all ages. They will love creating their very own zoo of animals with colorful clay.
Plus, there is no need for any special tools or equipment – just some basic supplies that you probably already have at home. So get ready to have some fun with your little ones!

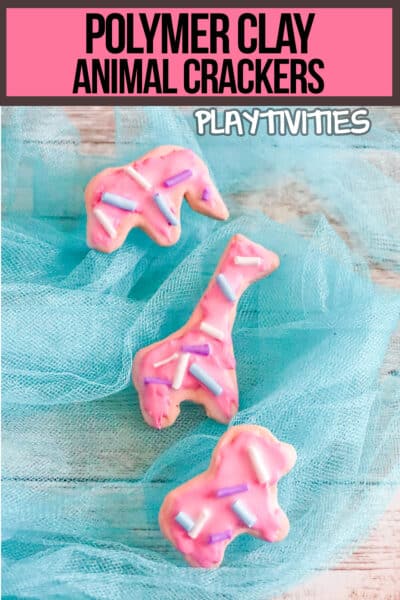
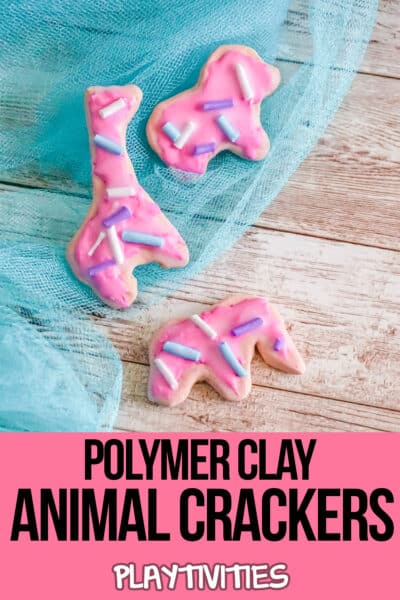
Polymer Clay Animal Cracker Kids Craft
What is Polymer Clay?
Polymer clay is a type of modeling clay that is made from polyvinyl chloride (PVC) and plasticizers. It is non-toxic, flexible, and can be easily molded into any shape. Once it is baked in the oven, it becomes hard and durable.
Why Use Oven-Bake Clay Instead of Air Dry Clay?
Oven-bake clay is stronger and more durable than air dry clay. It can also be sanded, drilled, and carved just like wood. Plus, it doesn’t shrink or crack when it dries.
Can You Paint Polymer Clay?
Yes! You can paint your polymer clay projects with acrylic paints. Just make sure to bake the clay first, and then paint it once it has cooled.

Do You Have to Seal Polymer Clay Creations?
No, you don’t have to seal polymer clay. However, if you want to, you can use a clear acrylic sealer. This will help protect your creations from scratches. But it is not necessary.
Do You Need Any Special Tools to Use Polymer Clay?
No, you don’t need any special tools to use polymer clay. Just your hands. And as far as setting the clay (making it hard), all you need is a standard oven. Nothing special at all.
How Do You Condition Polymer Clay Soft to Sculpt It?
If the clay is too hard to sculpt, you can condition it by kneading it with your hands for a few minutes. This will make it softer and easier to work with.
What Supplies Do You Need to Make This Polymer Clay Animal Cracker Kids Craft?
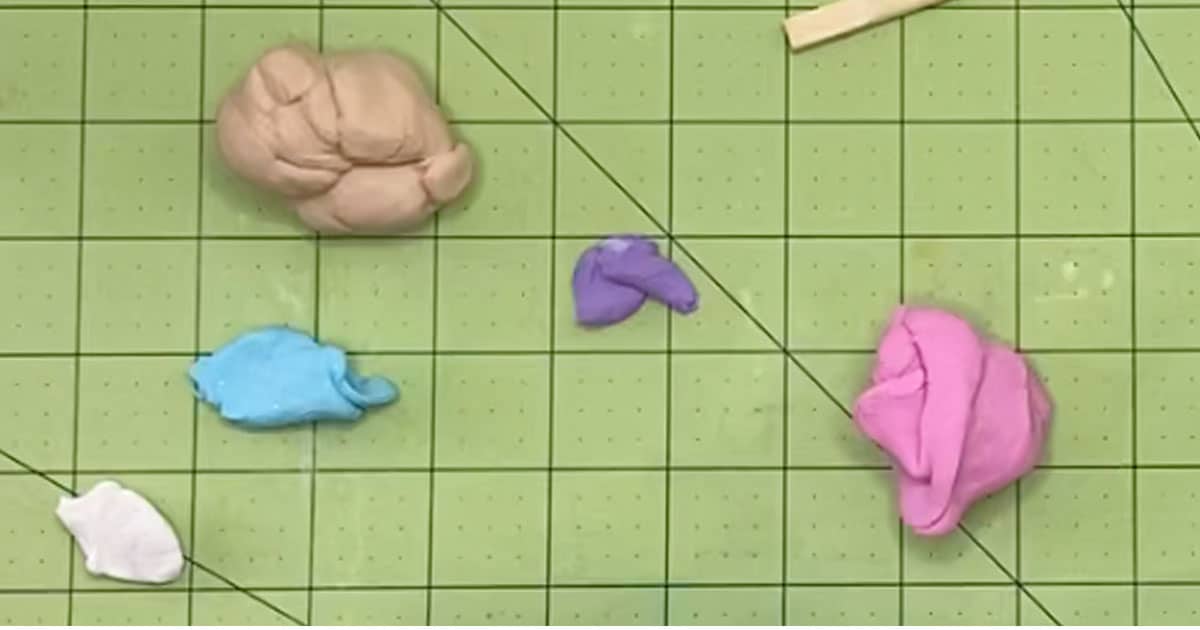
- Blue Polymer Clay
- White Polymer Clay
- Pink Polymer Clay
- Beige Polymer Clay
- Purple Polymer Clay
- Rubbing Alcohol
- Liquid Sculpey
What Tools Do You Need to Make This Polymer Clay Animal Cracker Kids Craft?
- Oven
- Parchment Paper
- Baking Sheet
- Toothpick
- Paintbrush
How to Make This Polymer Clay Animal Cracker Kids Craft
Preheat your oven to the temperature noted on your clay packaging. For my clay the baking temperature is 230-degrees F.
To make the sprinkles (I like to make them first), roll a very small piece of blue, pink, purple, and white clay into very very small snakes (the smaller the better). Very gently transfer the snakes to the baking sheet and bake for no longer than 10 minutes. If you bake them longer, they can burn because they are so small.
Allow the baked snakes to cool completely, then break them using a butter knife or just your hands, to snap the snakes into short lengths as sprinkles. Set aside.
To make the base of the animal crackers, break off a small portion (about 1/2 inch square) of the beige clay.
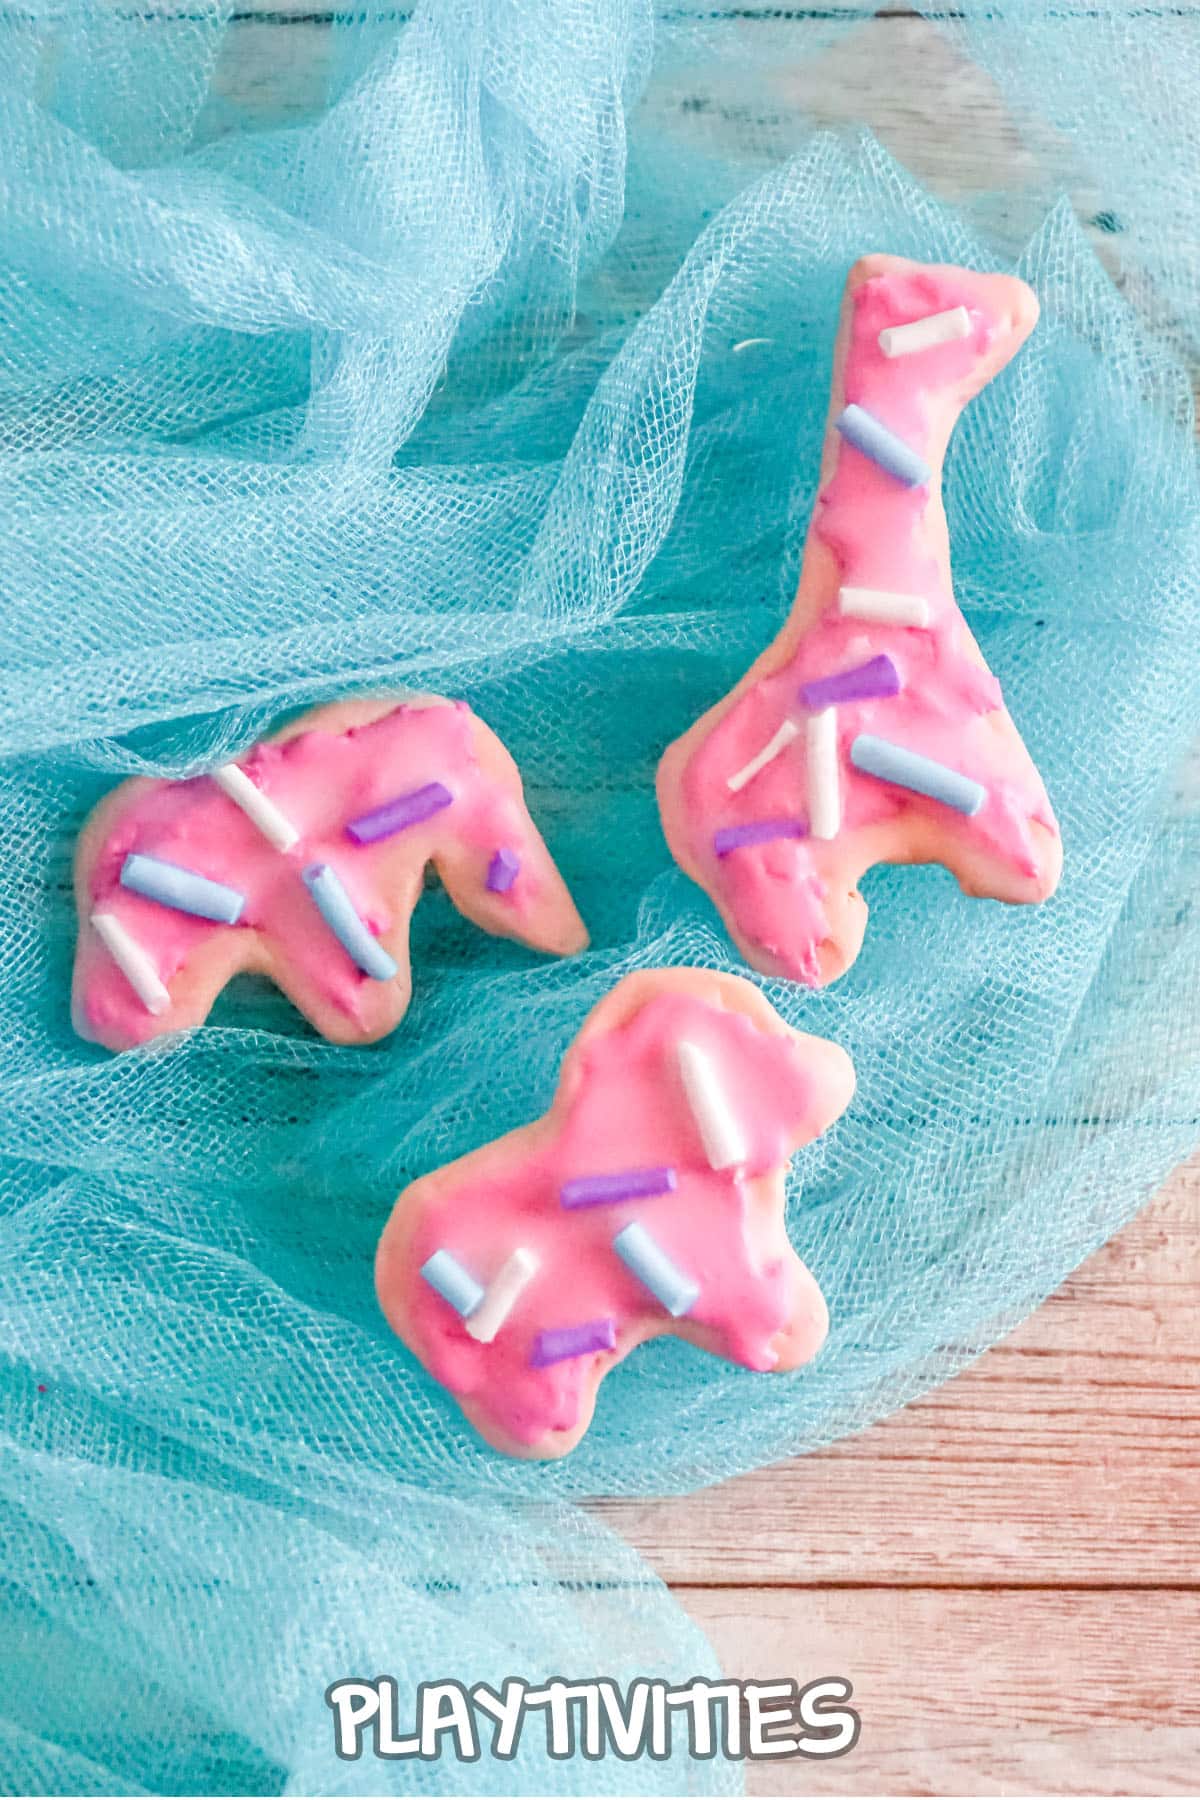
Roll this beige clay into a nice, neat ball that is very smooth, then flatten it into a roughly 1/8-inch thick blob. Reshape the edges by pushing and pulling to make an elephant shape. Repeat with a second and third piece of beige clay to make other animals such as a giraffe or bear.
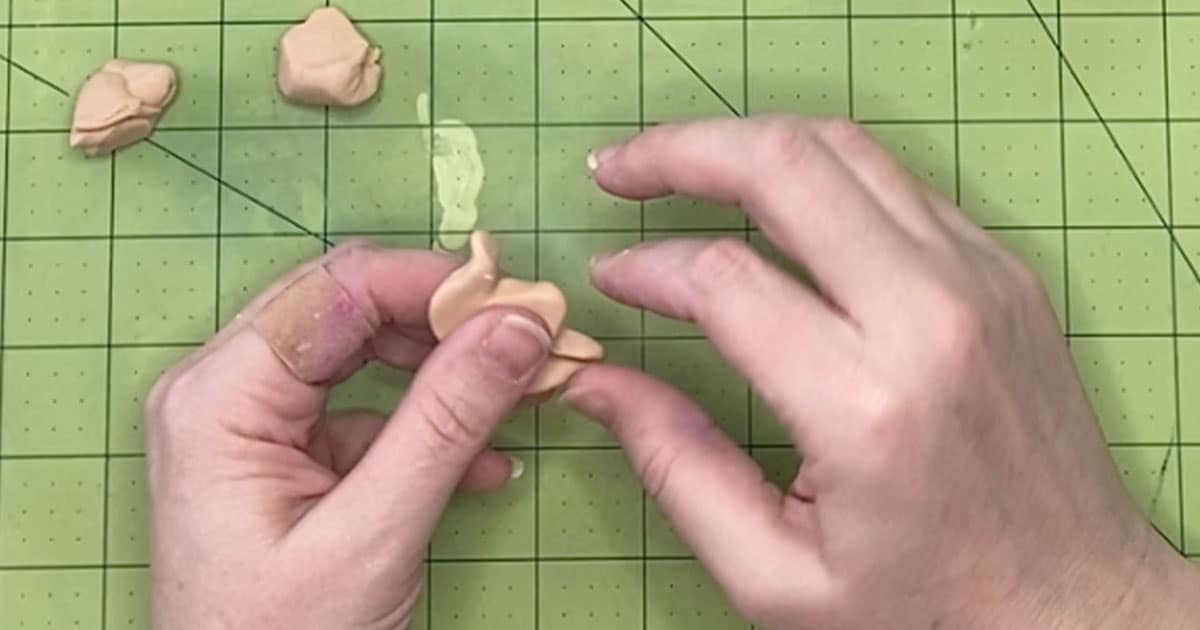
Make the icing by breaking off some pink clay (about 1/4-inch square) and mashing it with about 5-10 drops of the Liquid Sculpey.
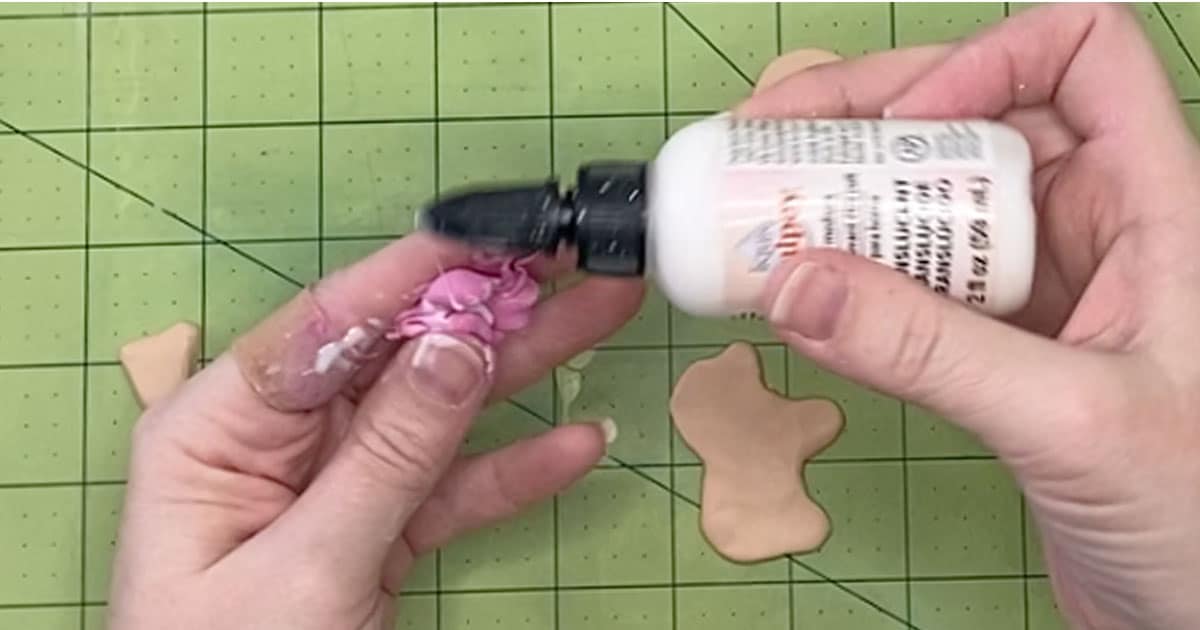
Once it's a bit more pliable, place the icing shape on top of the base and press it down firmly. Let the icing be as organic as possible.
Add sprinkles in varying colors to the top of the icing, pressing them in firmly.
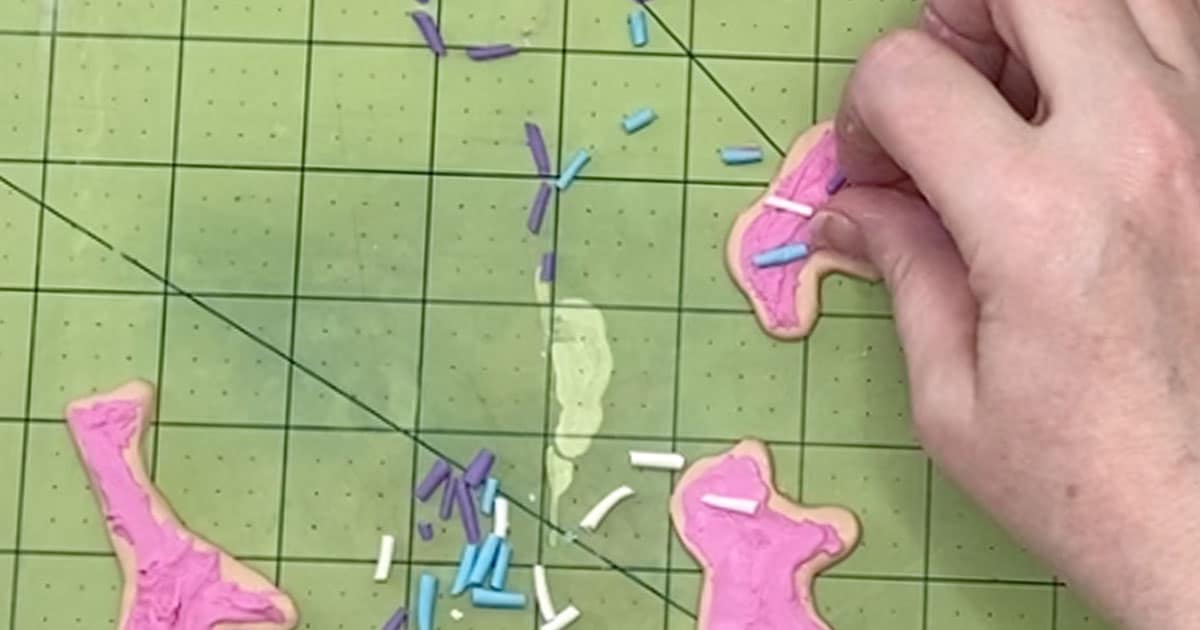
Cover the sprinkles with some additional Liquid Sculpey to get the sugared icing look.
Clean your fingerprints and tiny imperfections from your animal crackers by gently brushing the clay with a paintbrush dampened in rubbing alcohol. This does not have to be super wet with the alcohol, just a little goes a long way. Take care to brush the beige parts first, followed by the other colors so that no colorful clay smears on your beige clay.
Bake the clay animal crackers per the instructions on your clay packaging. Allow to cool completely before handling.

Isn't this just the funnest little craft?! If you wanted to turn it into a charm, you'll just add an eye hook and chain. I personally just love having the figure on my desk.
If you loved this as much as I do, be sure to pin it to your favorite craft board on pinterest so you can find it again fast when you're ready.
MORE FUN KIDS CRAFTS YOU'LL LOVE
- Weather Science Experiments for Kids
- Epic Fort for a Cozy Family Evening
- 50 Art Supplies from Your Trashcan
Polymer Clay Animal Cracker Kids Craft
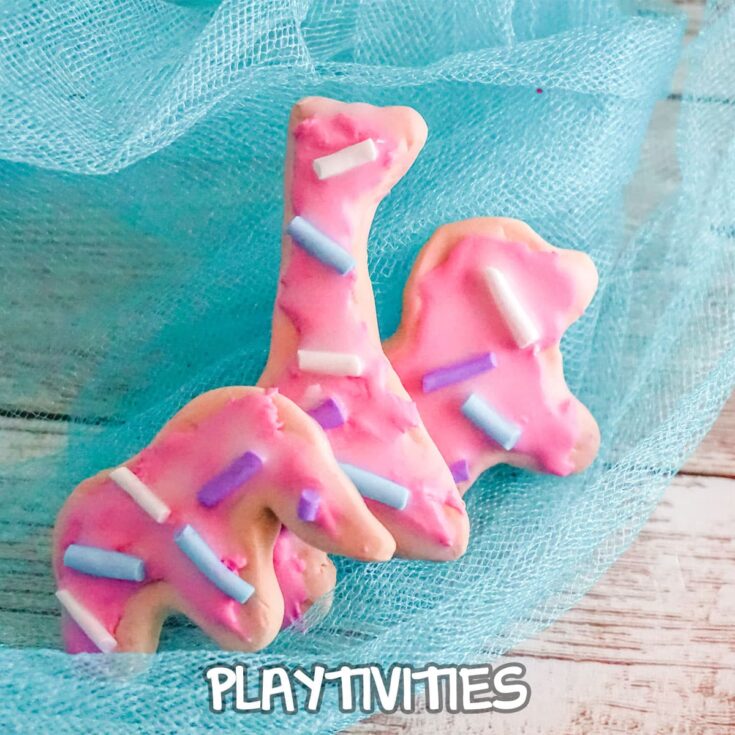
Simple and fun craft that kids can make in just a few minutes, this set of polymer clay animal crackers are adorable in every way.
Materials
- Blue Polymer Clay
- White Polymer Clay
- Pink Polymer Clay
- Beige Polymer Clay
- Purple Polymer Clay
- Rubbing Alcohol
- Liquid Sculpey
Tools
- Oven
- Parchment Paper
- Baking Sheet
- Toothpick
- Paintbrush
Instructions
- Preheat your oven to the temperature noted on your clay packaging. For my clay the baking temperature is 230-degrees F.
- To make the sprinkles (I like to make them first), roll a very small piece of blue, pink, purple, and white clay into very very small snakes (the smaller the better). Very gently transfer the snakes to the baking sheet and bake for no longer than 10 minutes. If you bake them longer, they can burn because they are so small.
- Allow the baked snakes to cool completely, then break them using a butter knife or just your hands, to snap the snakes into short lengths as sprinkles. Set aside.
- To make the base of the animal crackers, break off a small portion (about 1/2 inch square) of the beige clay.
- Roll this beige clay into a nice, neat ball that is very smooth, then flatten it into a roughly 1/8-inch thick blob. Reshape the edges by pushing and pulling to make an elephant shape. Repeat with a second and third piece of beige clay to make other animals such as a giraffe or bear.
- Make the icing by breaking off some pink clay (about 1/4-inch square) and mashing it with about 5-10 drops of the Liquid Sculpey.
- Once it's a bit more pliable, place the icing shape on top of the base and press it down firmly. Let the icing be as organic as possible.
- Add sprinkles in varying colors to the top of the icing, pressing them in firmly.
- Cover the sprinkles with some additional Liquid Sculpey to get the sugared icing look.
- Clean your fingerprints and tiny imperfections from your animal crackers by gently brushing the clay with a paintbrush dampened in rubbing alcohol. This does not have to be super wet with the alcohol, just a little goes a long way. Take care to brush the beige parts first, followed by the other colors so that no colorful clay smears on your beige clay.
- Bake the clay animal crackers per the instructions on your clay packaging. Allow to cool completely before handling.


Leave a Reply